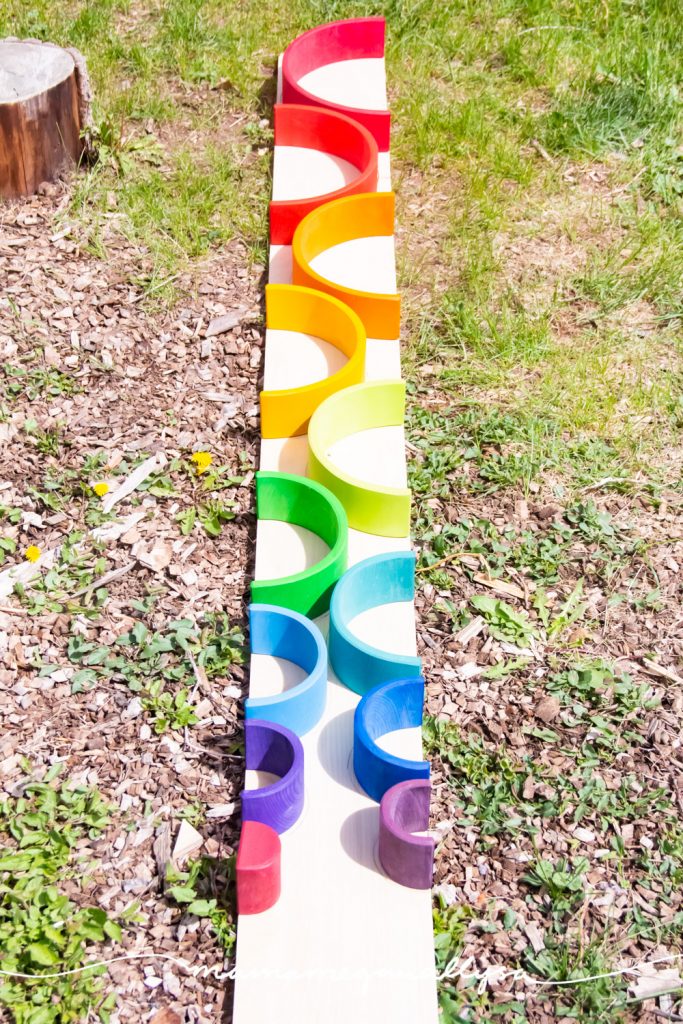
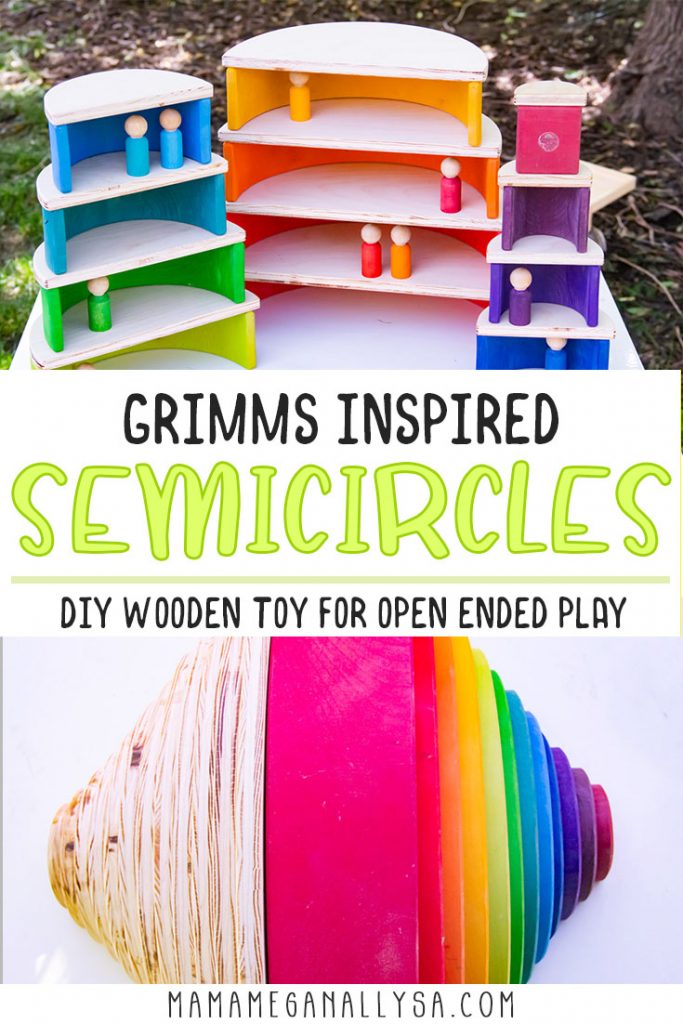
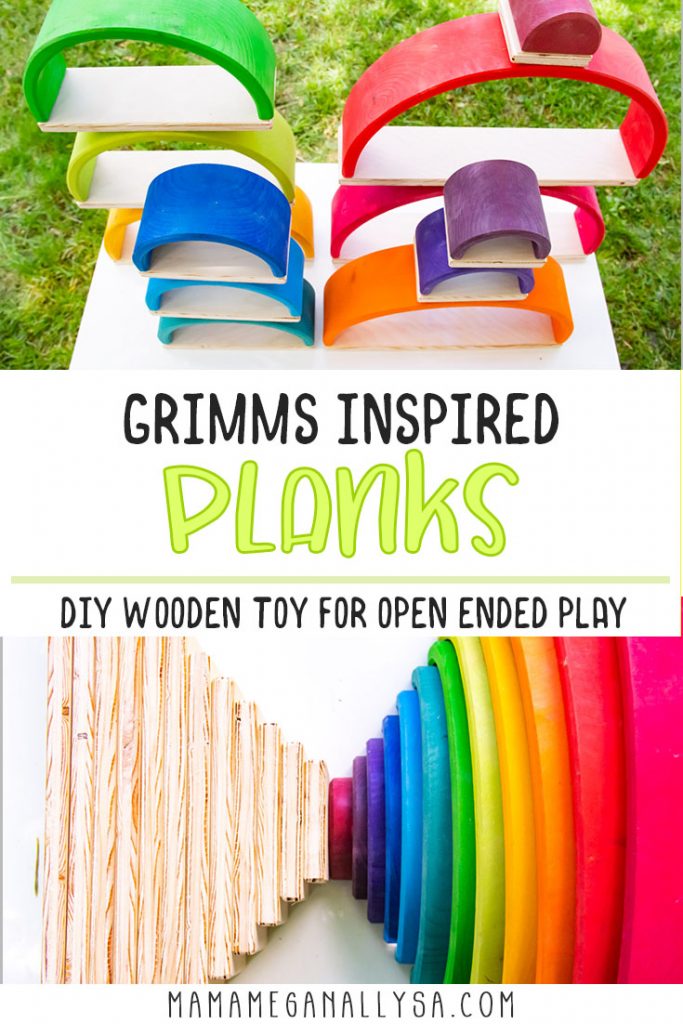
If you need to know one thing about me it’s this, I LOVE a good DIY project. Especially one that really isn’t too complicated and you can knock out in a day. My DIY semicircles and planks were just that kind of project. Simple and straightforward! Check out how I made them below. As well as some ideas for ways to use them!
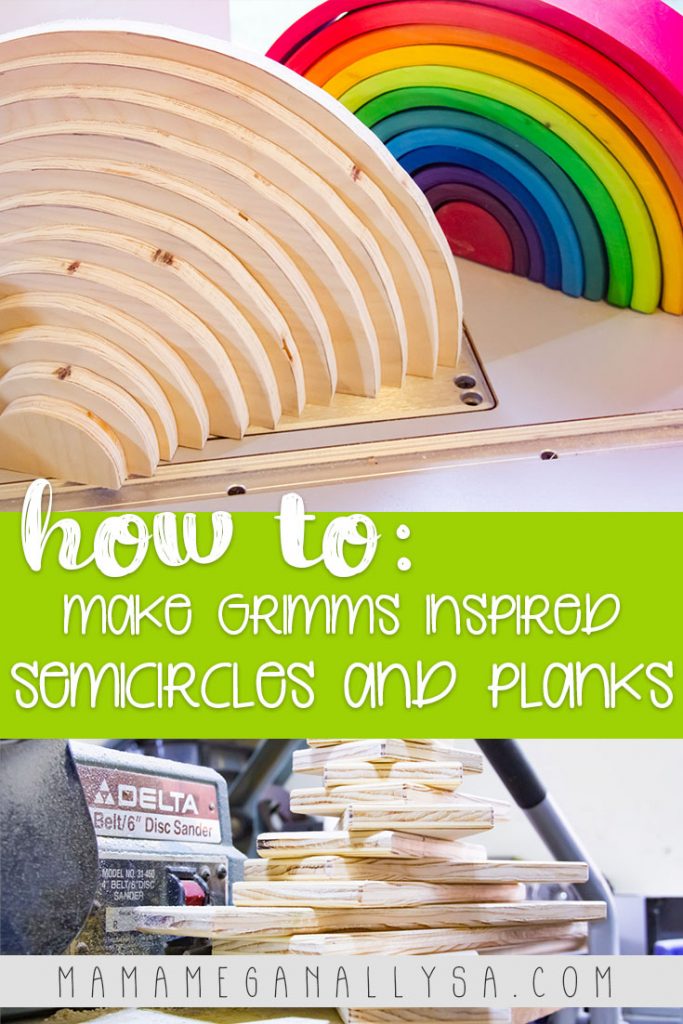
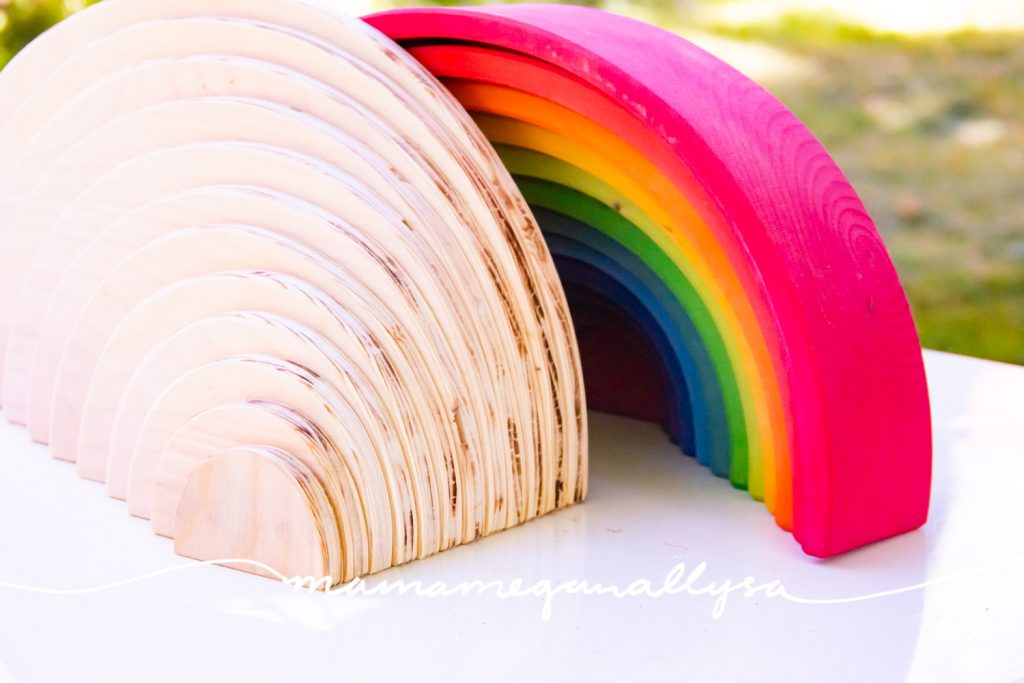
If you have been around the playroom side of the internet at all in the last couple of years I can guarantee that you have seen the Grimms Rainbow. I adore ours. Bitty is interested but doesn’t independently play with it much yet. In an effort to spark some new interest and invite lots of new building opportunities I wanted to add some DIY semicircles and the planks!
DIY Semicircles and Planks Supplies
- Quality plywood or thin plank of wood of your choice
- Rainbow
- Jigsaw
- Scroll saw or Bandsaw
- Sander – Belt or Orbital
First Decide on Your Wood
We bought a big sheet of ¼ inch birch plywood as I have MANY projects in my list and we knew we would end up using all of it. You can get smaller sheets and you certainly don’t need a full sheet for this project.
This is one of those times you are going to want to spend a little more money on the materials if you can. When I say plywood, you don’t want OSB. You want laminated plywood and the more expensive the smoother and stronger the wood will be.
DIY Semicircles and Planks : Step 1 – Sketch It Out
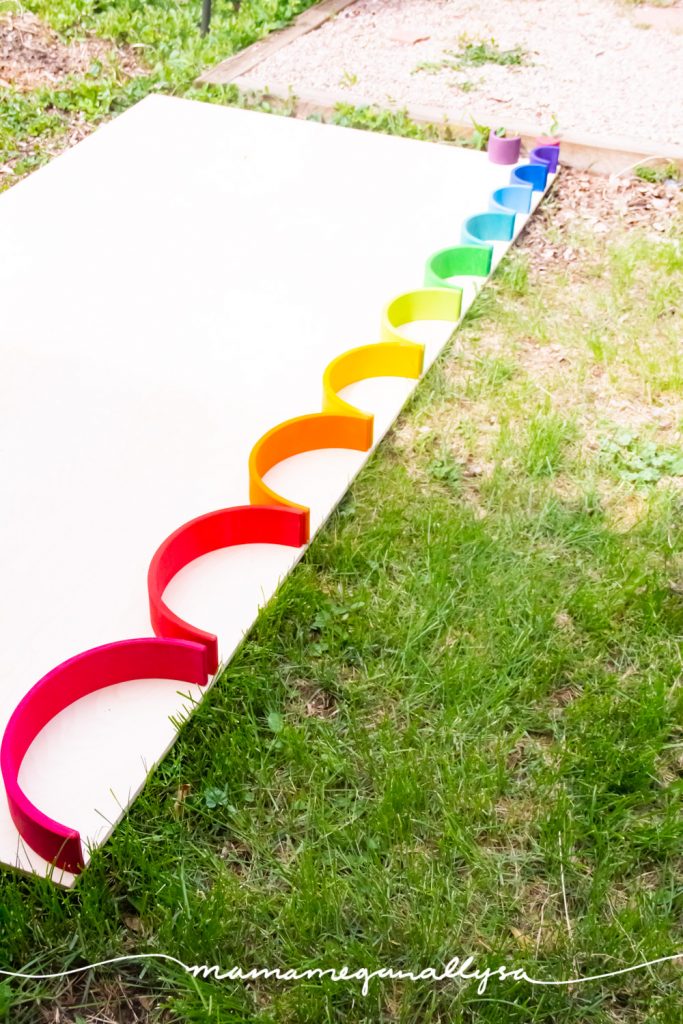
Now comes the simple step. Simply lay out your rainbow on your plywood and trace it.
I knew I wanted the DIY semicircles to be slightly larger than the bands of the rainbow to allow for some error when stacking. You can decide how much extra to give yourself by the angle you hold the pencil at just make sure you trace the outside of the bands not the inside.
I chose to rip my big sheet down to planks and then used the two long edges as the straight parts of the semicircles and the long edges of the planks. Work smarter not harder!
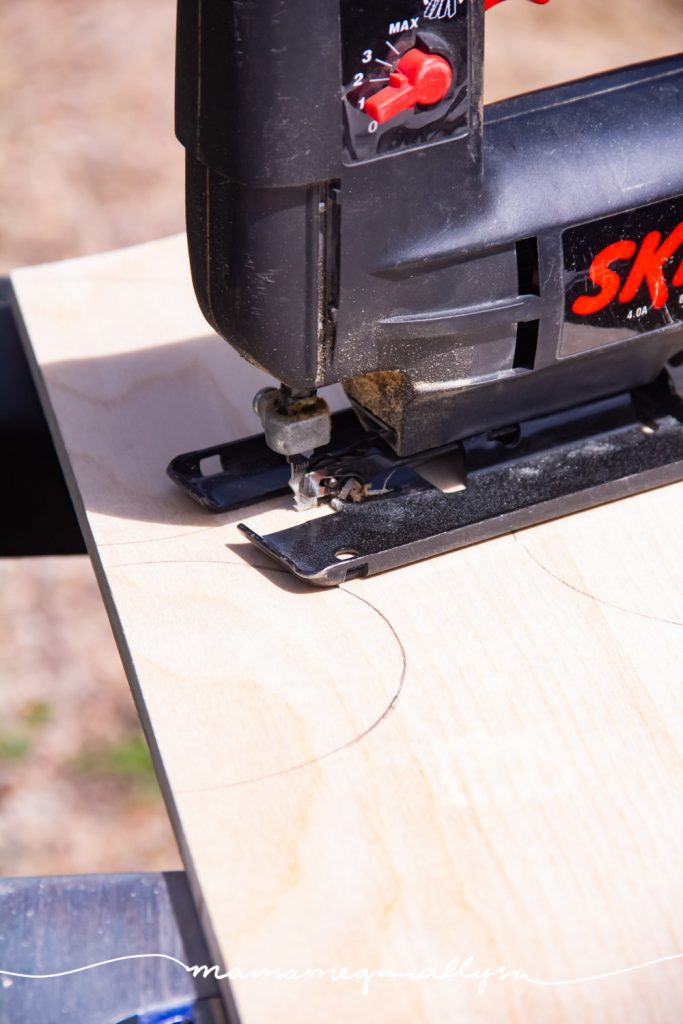
DIY Semicircles and Planks : Step 2 – Starting to Take Shape
Time to break out the powertools!
When I laid my arches out I had them as close as I could to allow room to cut so that I didn’t waste material. This meant that I needed the jigsaw to break my plank down into more manageable sizes.
If you wanted you could use a table saw or miter saw or really any kind of saw and break your pieces down beforehand, but be prepared to have some waste.
Once you have smaller pieces to work with you are ready for more precise cuts!
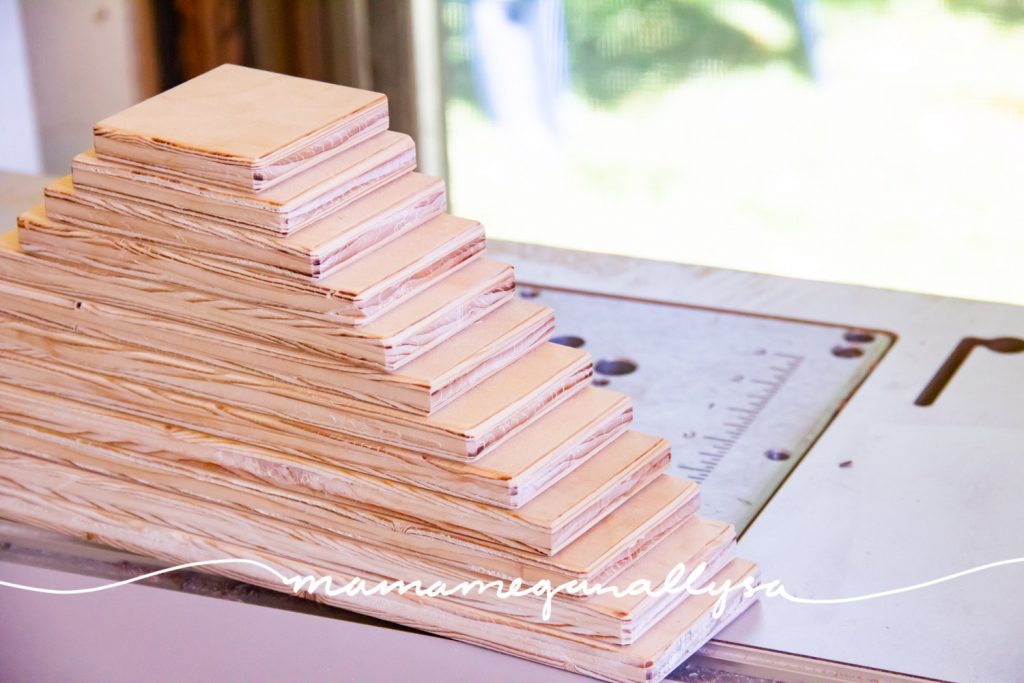
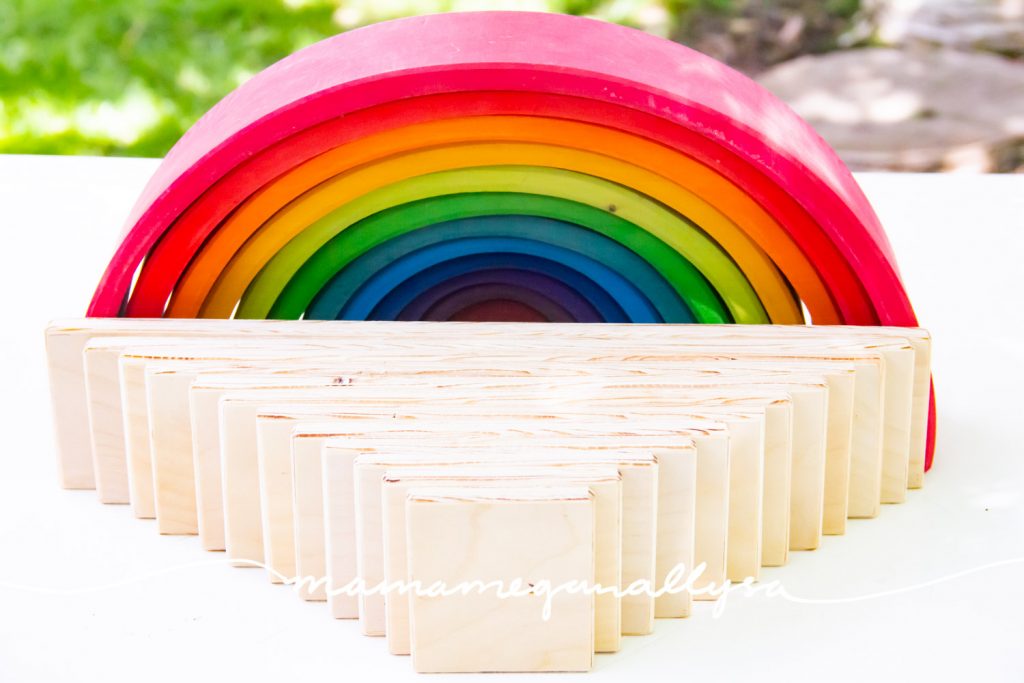
For the planks we ripped a skinnier plank that was the same width as the rainbow arches. Then one at a time I stacked the arch on that plank, made a mark for how long the pank needed to be, and cut that with the miter saw.
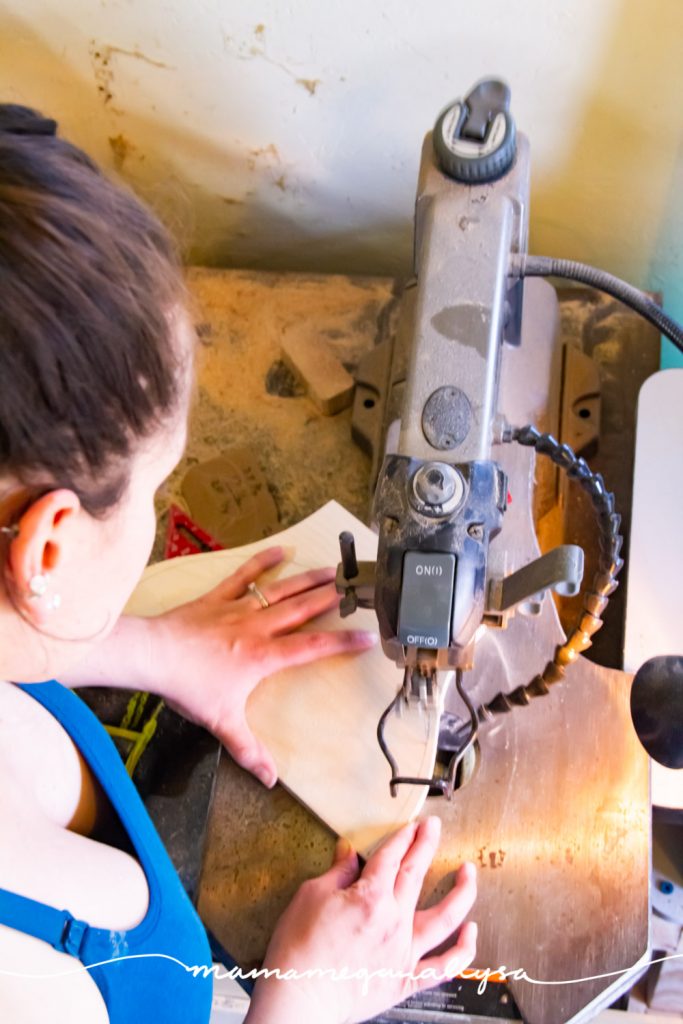
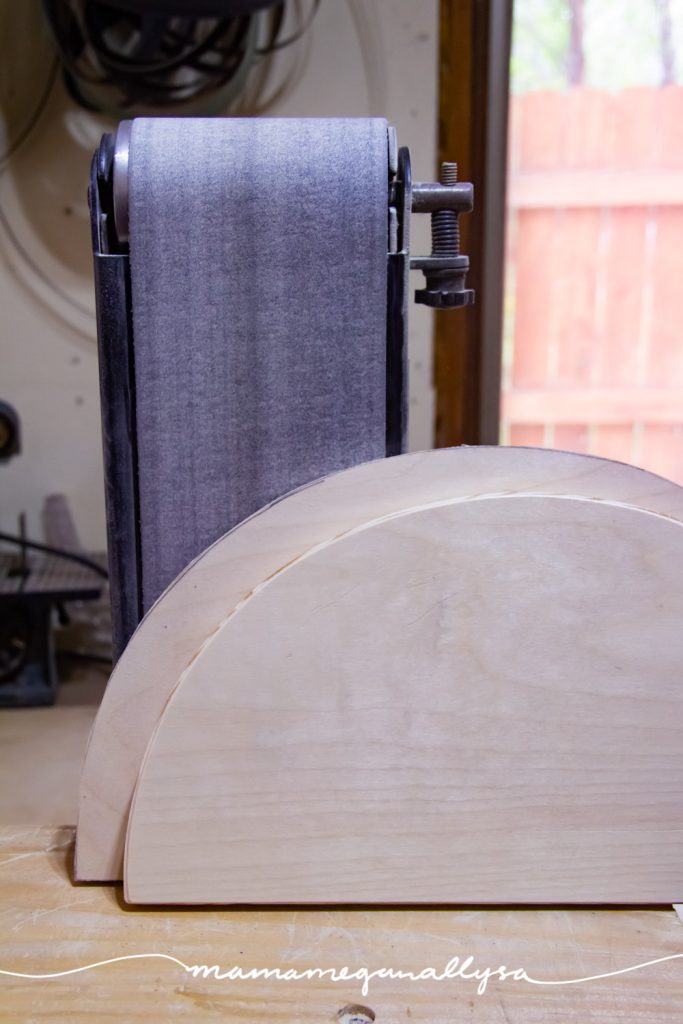
DIY Semicircles and Planks : Step 3 – Fine Tune Your Semicircles
This is where I used my scroll saw to get the nice round edges of the semicircles. If you have a bandsaw I think you could do it with that as well.
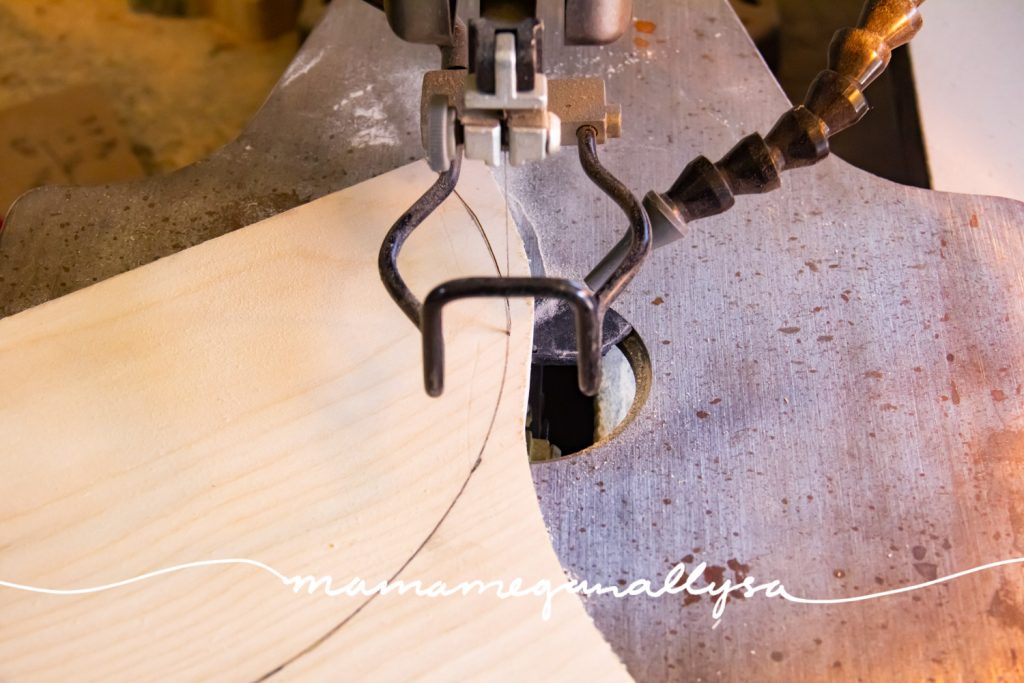
Go slow and always cut to the outside of your line, you can go back later with sanding to get closer to the line you traced.
DIY Semicircles and Planks : Step 4 – Sanding
Everyone’s favorite step right!? No? Ya no… Nobody really likes sanding. BUT it makes all the difference in the world especially when little hands are going to be playing with it!
I recommend a belt sander or some other stationary device so that you can use two hands to manipulate your pieces. If you’re really dedicated you could hand sand. Not me though. Again I like to work smarter not harder! Lol
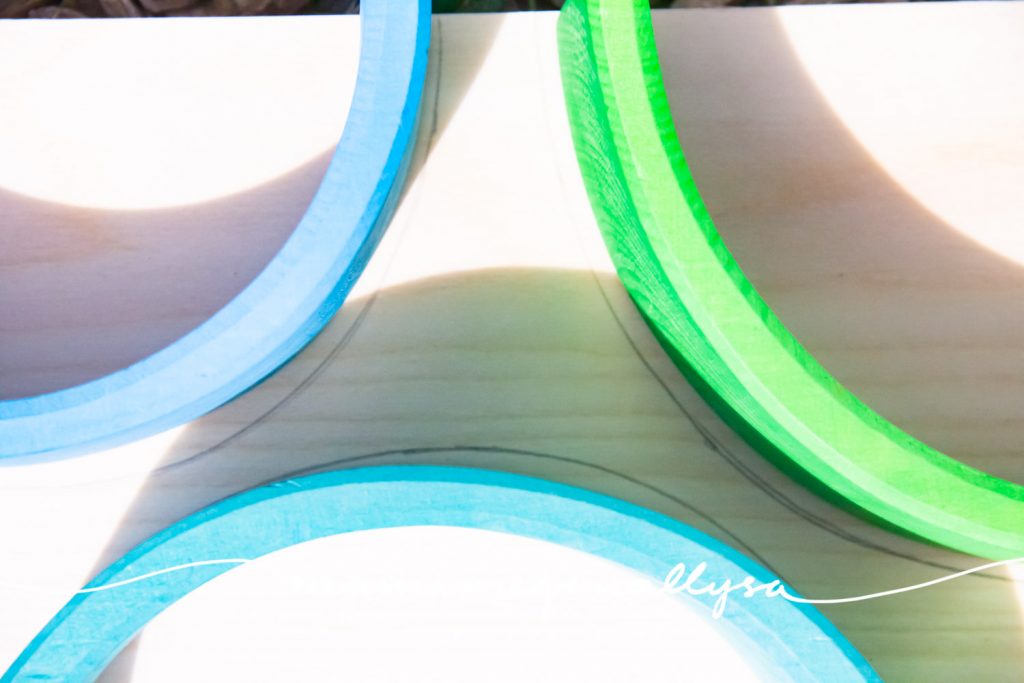
If you want to give your DIY Semicircles and Planks the diagonal edge similar to the Grimms Rainbow, you’ll want to start with a rough grit to take away some material and then finish the sanding with a high grit or smoother sandpaper.
To Paint or Stain or Oil that is the Question…
And this is where I leave you. Your DIY Semicircles and Planks are done. Or not. It depends on if you want to paint or stain or oil your boards.

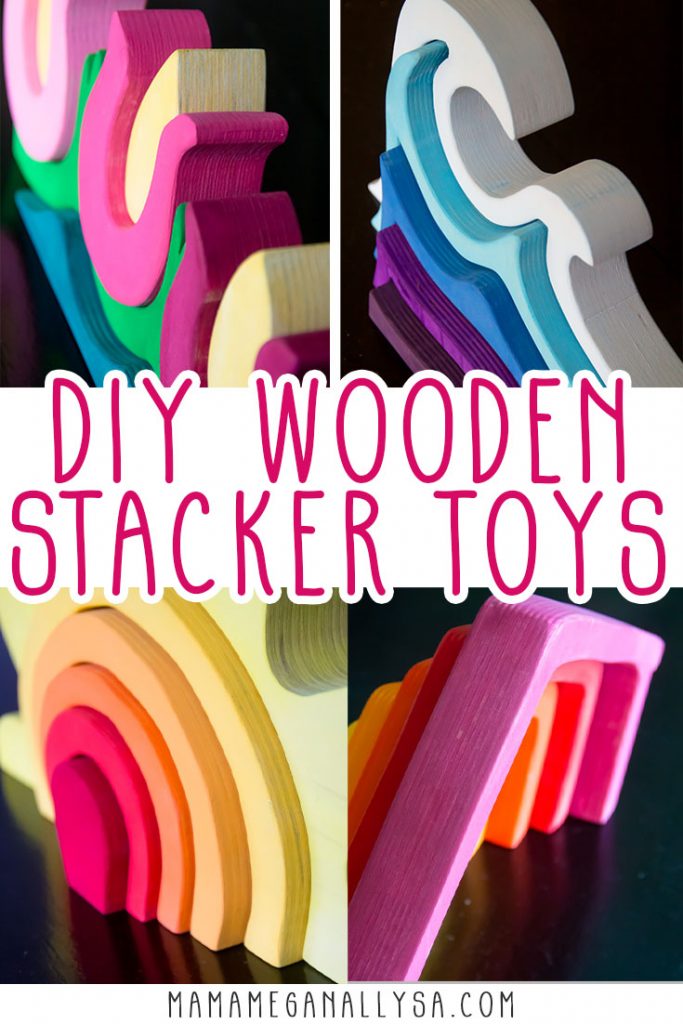
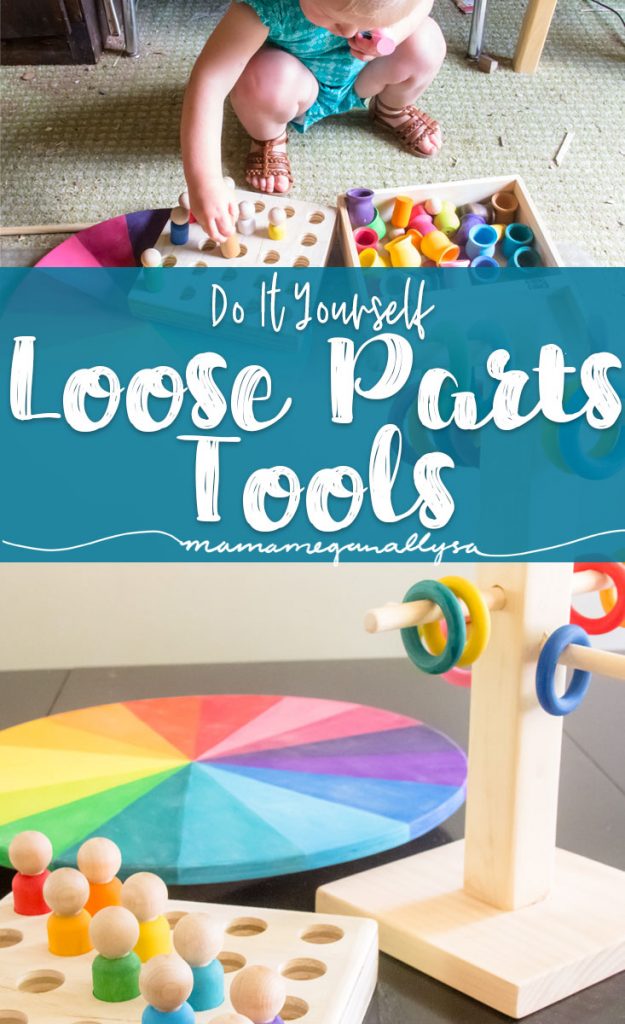
If you want to match the Grimms Rainbow, I went through that whole process when I made my DIY Loose Parts and Homemade Stacker Toys, so head over there to get some tips on painting wood with watered down acrylic.
You could also choose to use wood stain in whatever shade you like.
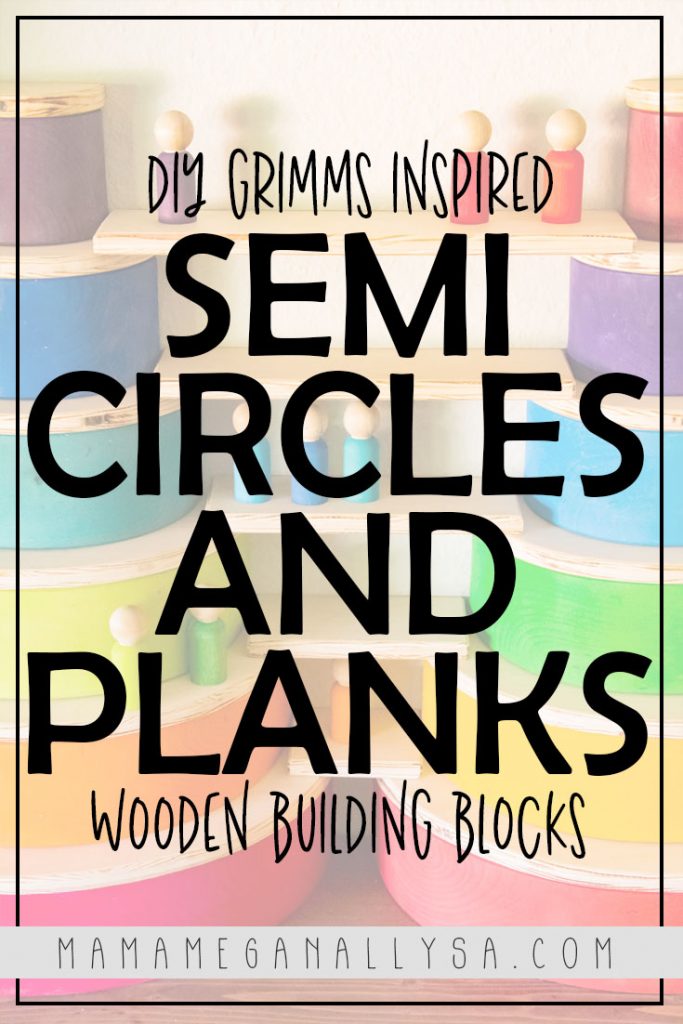
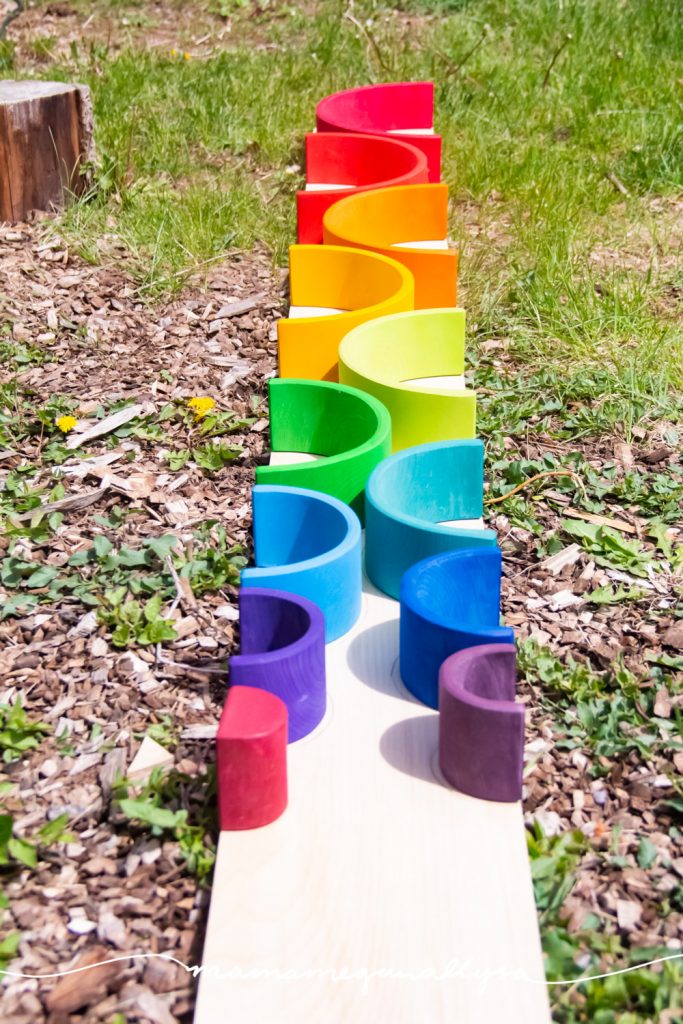
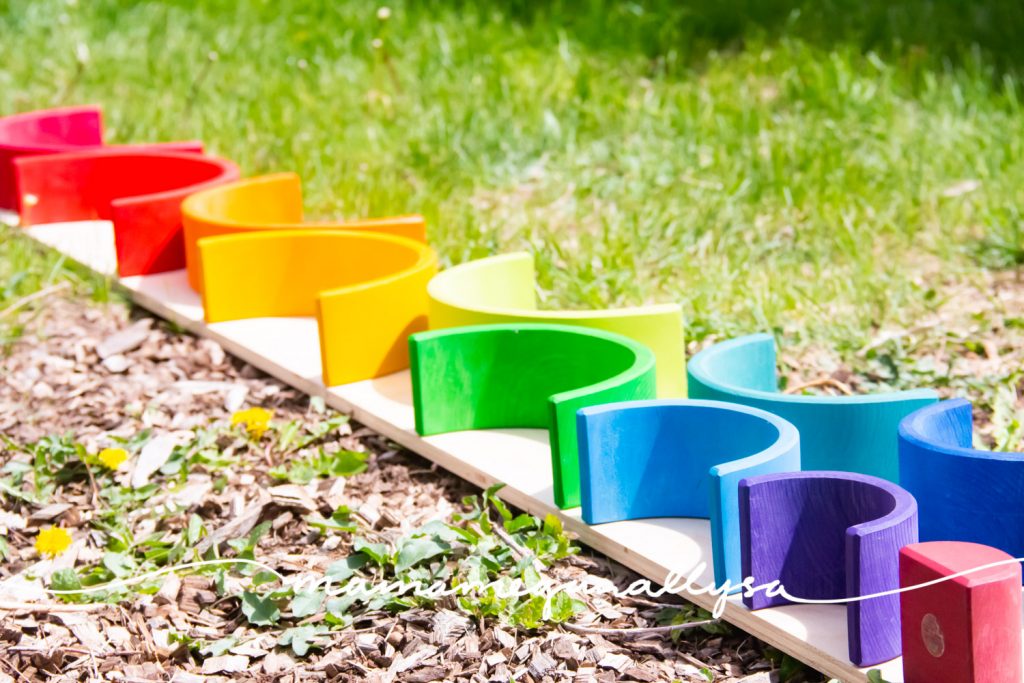
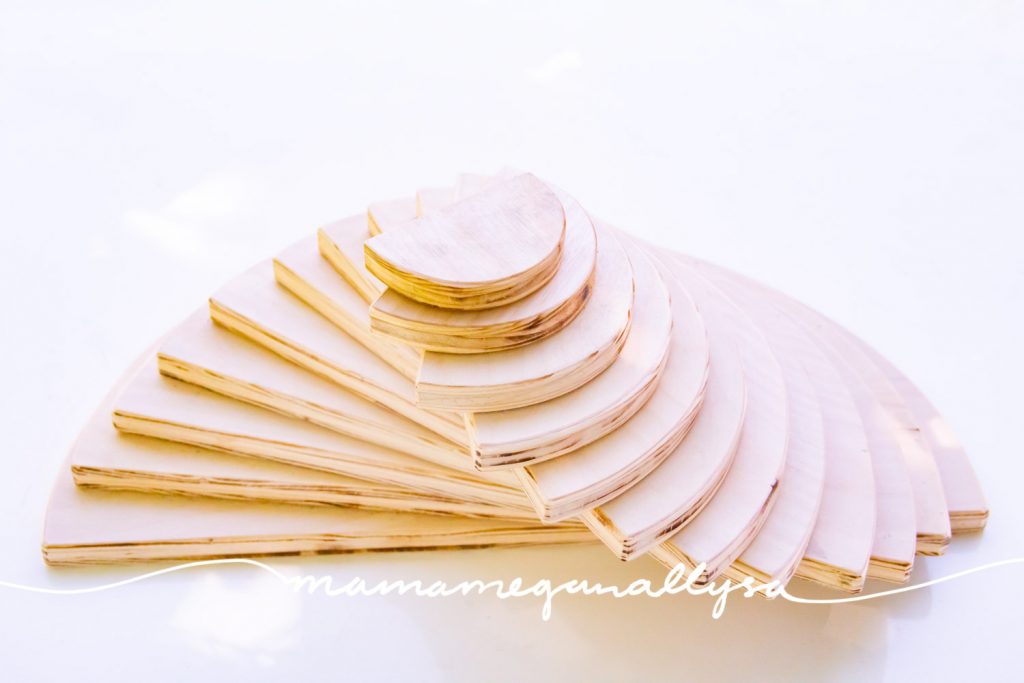
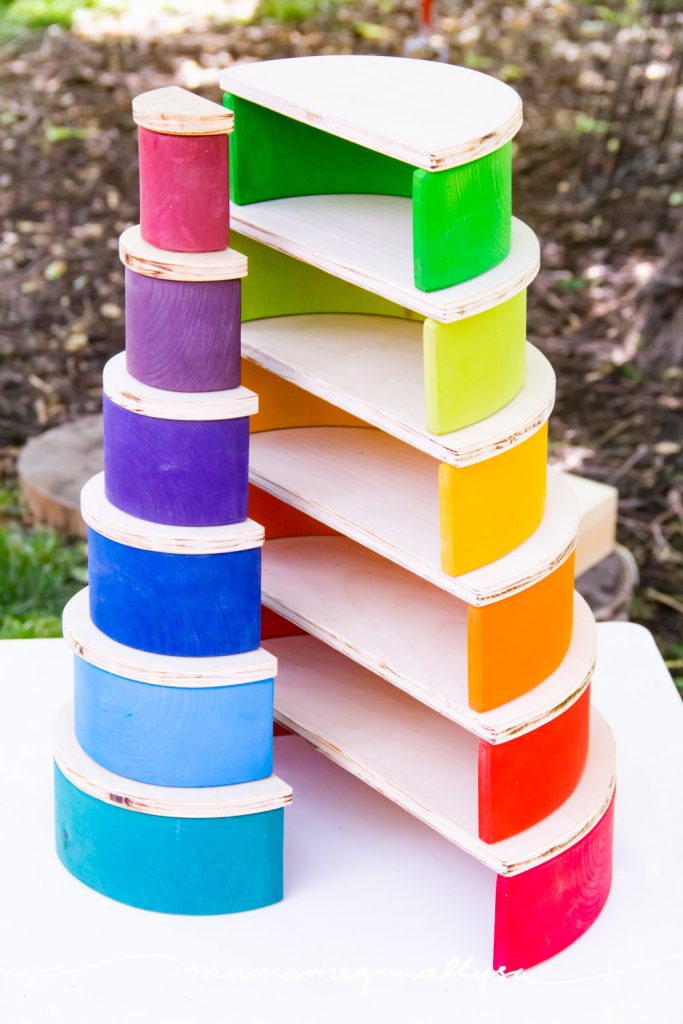
I chose to leave mine raw. I liked the contrast of the bright wood against the colors of the rainbow. ALSO then we can use our DIY Semicircles and Planks with our other wooden building blocks and they go together with no problem!
I do plan to eventually oil them in some way. I’m just not sure what product I want to use yet. What is your favorite oil for wood toys?
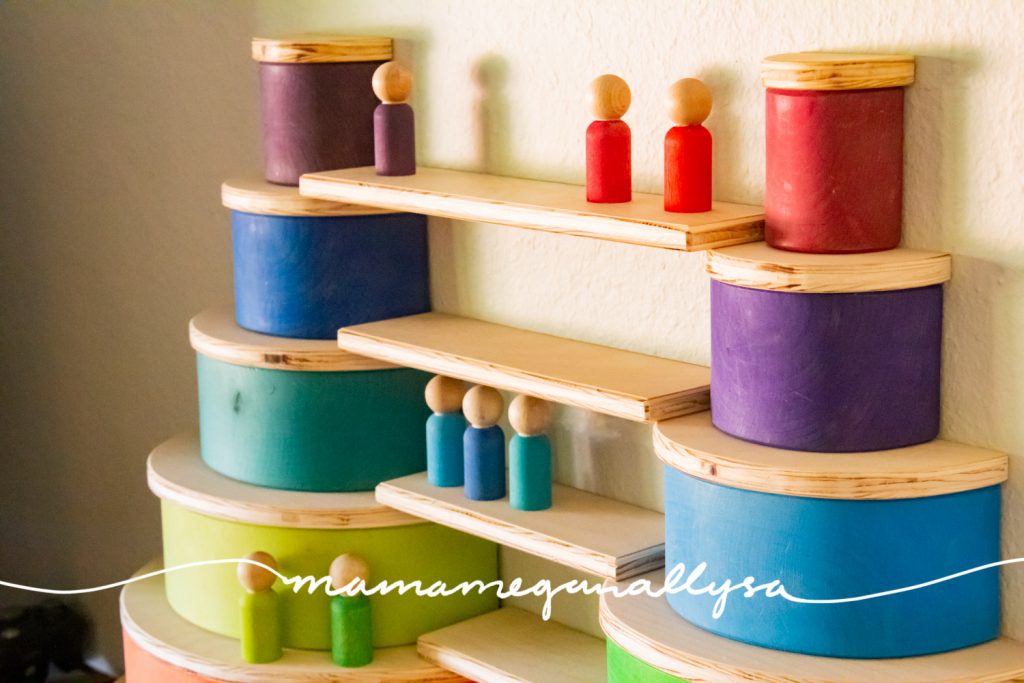
Individually our DIY Semicircles and Planks are great for talking about size and working on smaller and larger. They can be great additions to your small world as roads and hills
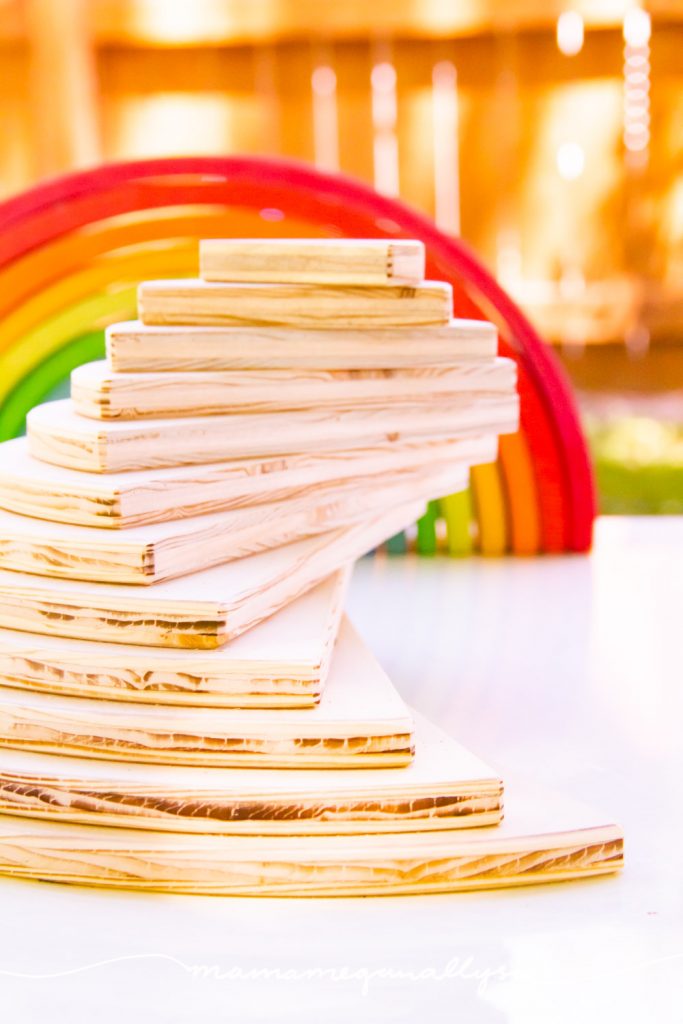
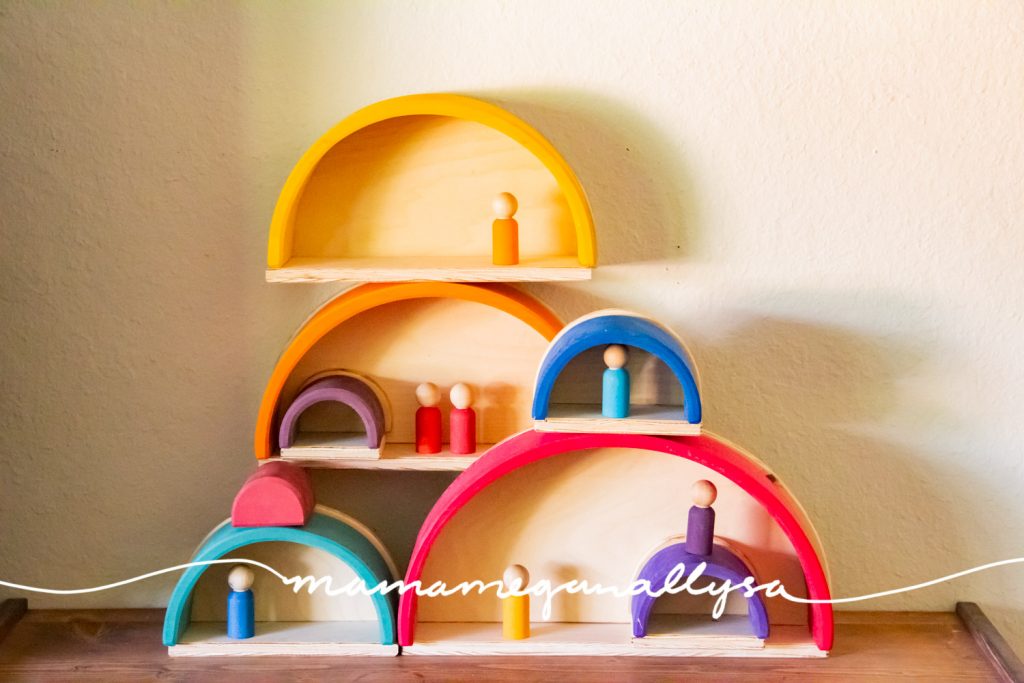
But let’s be honest. You’re here to add them to your collection to use with your Rainbow.
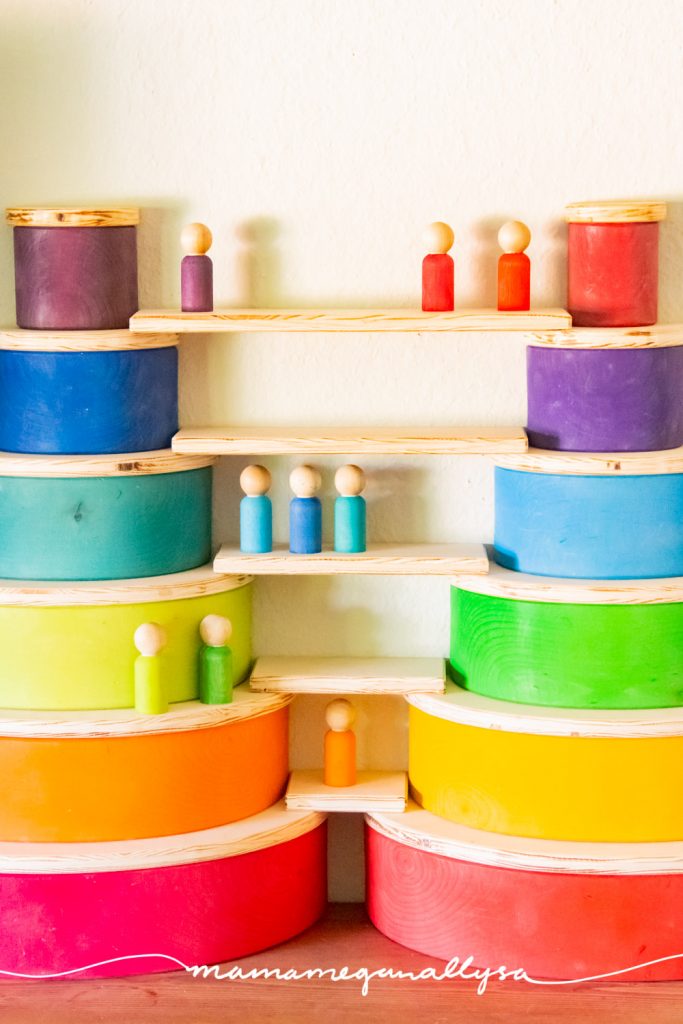
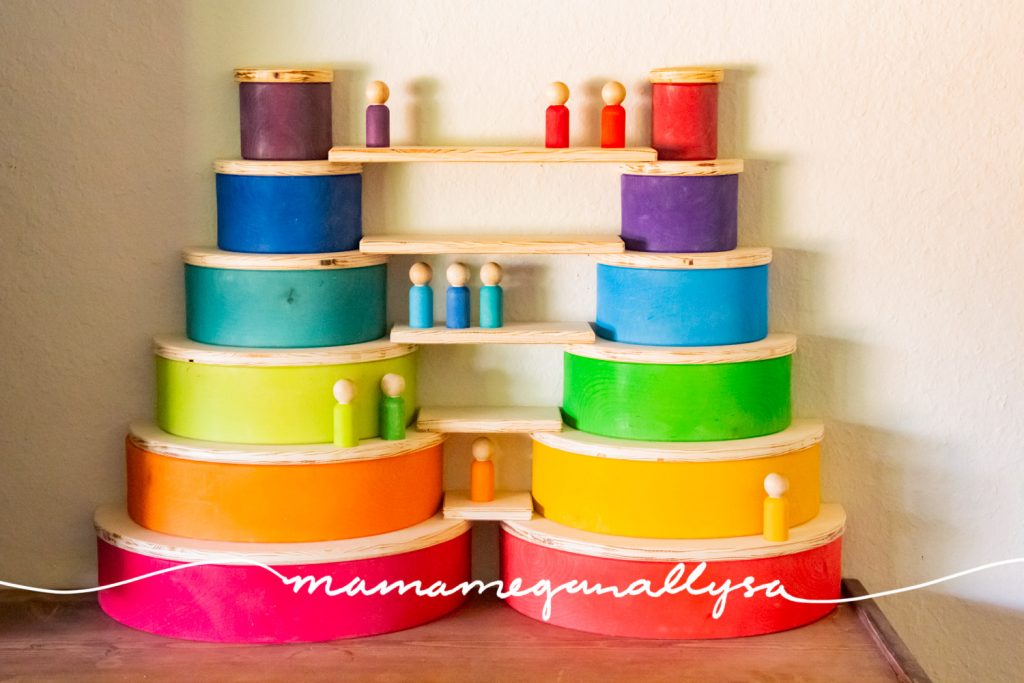
I have found personally that the semicircles offer the most stacking options from cakes to buildings and towers. I just find myself gravitating to them more.
The planks offer a bigger challenge to balance for sure but you can create some great boats and caves!
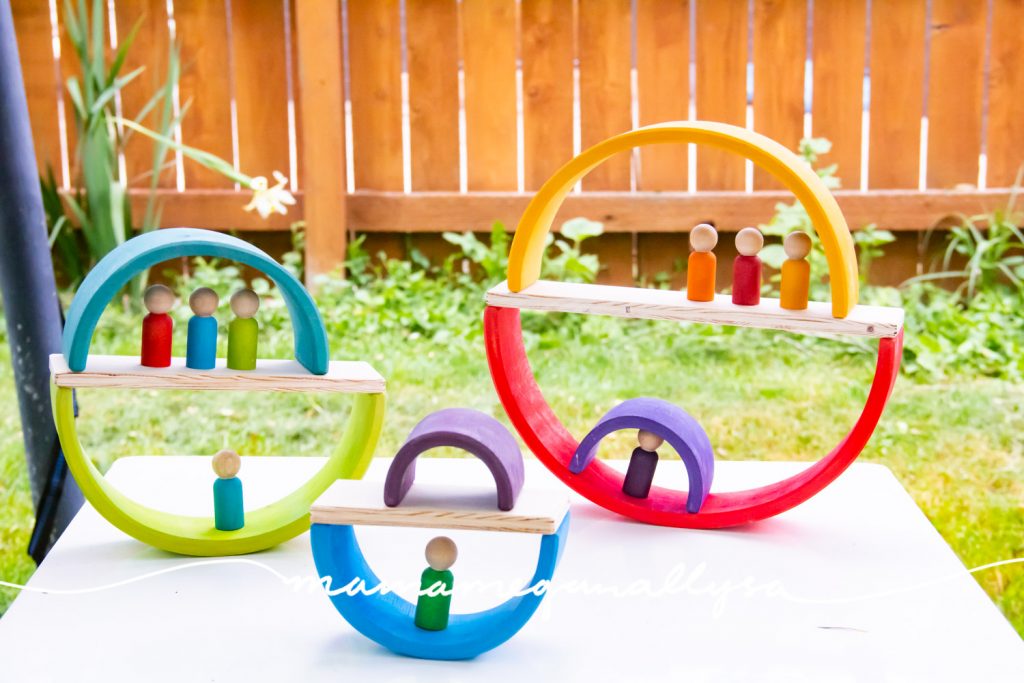
The best way to play with your DIY Semicircles and Planks is together! You have lots more options for what you can build this way!
Always Looking for Some New Ideas!
One way that I am looking forward to using them is as ramps for ball runs. We haven’t gotten there yet but if you have some good ones tag me on Instagram so I can give them a try!
Other Posts you may like