
Our DIY sensory bin table began long ago, at least the idea of it did. Shortly after I started sensory bins with Bitty I got the grand idea to make a sensory table for the back porch. The idea was always for it to be outside. She would have her smaller indoor tray and then the large table outside. It also served as a way to avoid having both a sandbox and a water table for her to play in as the sensory table could do both!

This post contains some affiliate links. As an Amazon Associate, I earn from qualifying purchases. I may receive a small commission from if you follow and decide to purchase. There would be no additional cost to you!
If you have spent any time trolling the mama side of Instagram or Pinterest (like I have) You would have seen the IKEA FLISAT sensory table. It’s a wonderful piece. Multifunctional and yet simple, a decent size, and it gets bonus points for that classic IKEA vibe it gives off.
But that’s not what I wanted.
Don’t get me wrong the IKEA table is great…but I wanted something a bit larger and well less IKEAy. To be perfectly honest once I get the idea that I can do something myself if it’s at all in my realm of skill and its cost effective to DIY it, I have a hard time saying no to myself. Lol
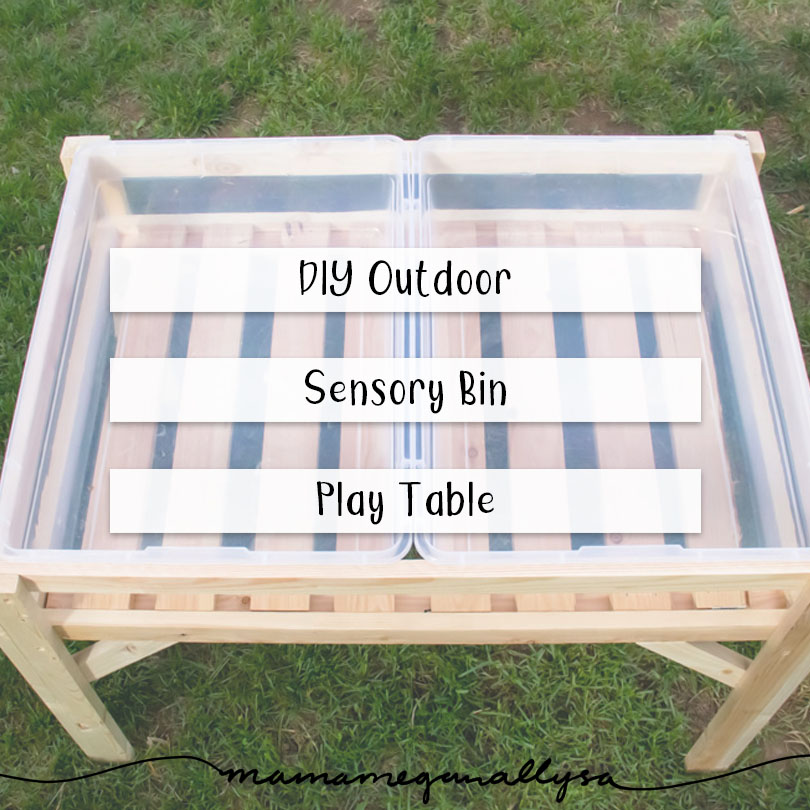
And thus began our DIY sensory bin table build.
The Source of my DIY Sensory Bin Table Inspiration
As any good Pinterst mom I have a boards full of dreams. Things to cook, vacations to take, hacks to save the day, and for me, well I also have multiple boards of things to build or make. This is where I found the plans for our table.
We were very much inspired by the table that one awesomemomma did over on her blog. It was a little classy looking while still not costing a fortune in wood and didn’t end up being a huge bulky build!
We didn’t follow her instructions exactly because we wanted to have two separate bins vs. one large bin, but the real diversions came because well…Zak got a hold of the project and he tends to go rouge.
DIY SENSORY BIN TABLE MUST-HAVES

SUPPLIES
- 6 – 1×2
- 3 – 1×3
- 2 – underbed storage containers w/ lids
- stainable wood putty
- wood glue
- wood stain
- outdoor wood sealer
- rag
- gloves
TOOLS
- Miter saw
- Right angle jig
- Power drill
- Air nailer
- Counter sink bit
- Nails
- Screws
- Power sander
HOW TO MAKE A DIY SENSORY BIN TABLE
First and foremost you will need to measure around your bins just under the lip where the lid attaches. You want this part above the tabletop so that you can get the lids on off easily!
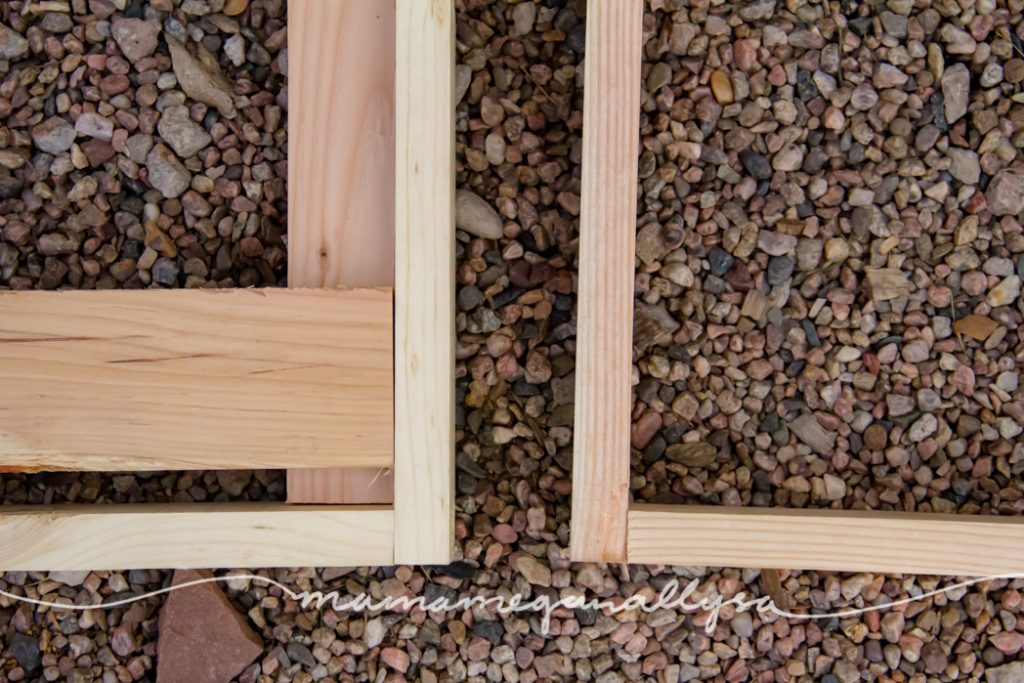
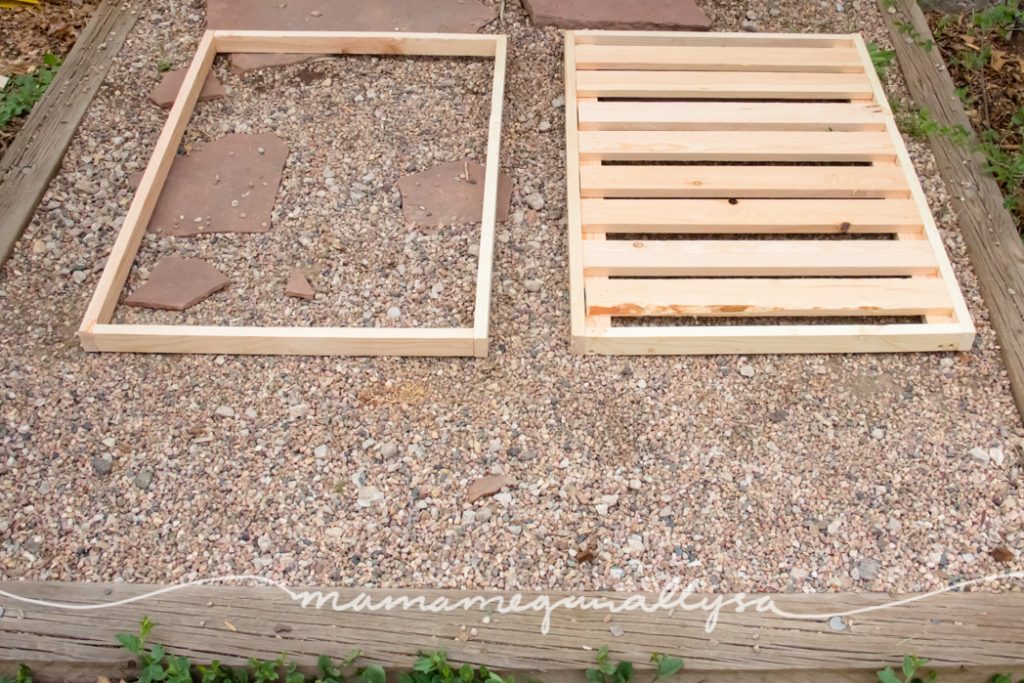
STEP 1 – FRAME IT OUT
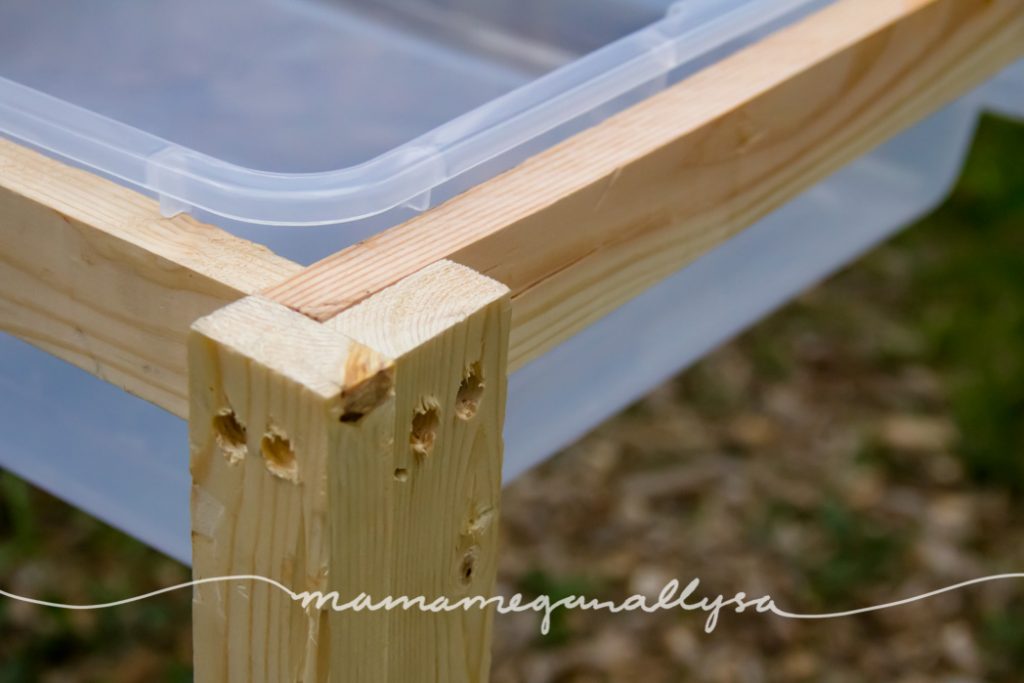
You are going to build two frames; one will be the top and the other will turn into the tray where the bins sit. The way that we did the corners is called at basic butt. This is where one piece runs the whole length plus the width of either end as well.
CounterSinking all the things
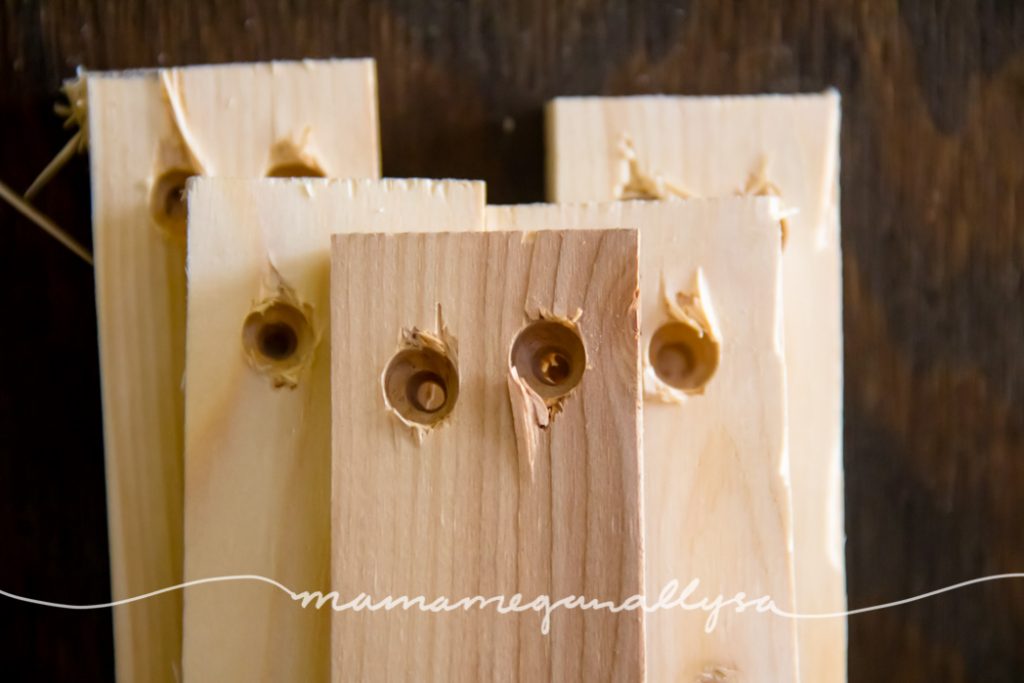
Zak has a thing for countersinking screws. I will say that they tend to look nicer than just having the screw head, BUT on this day he got a little countersink happy and tried to over-engineer…as is his style.
Quick tip: A drill press tends to chew up your board a bit, go slow or choose another method.
Attaching these and making sure that your corner is square can be done a number of ways but we had a right angle jig in the shop and that just made the most sense for us. As long as you end up with two matching frames that are square you can do it, however it suits you!

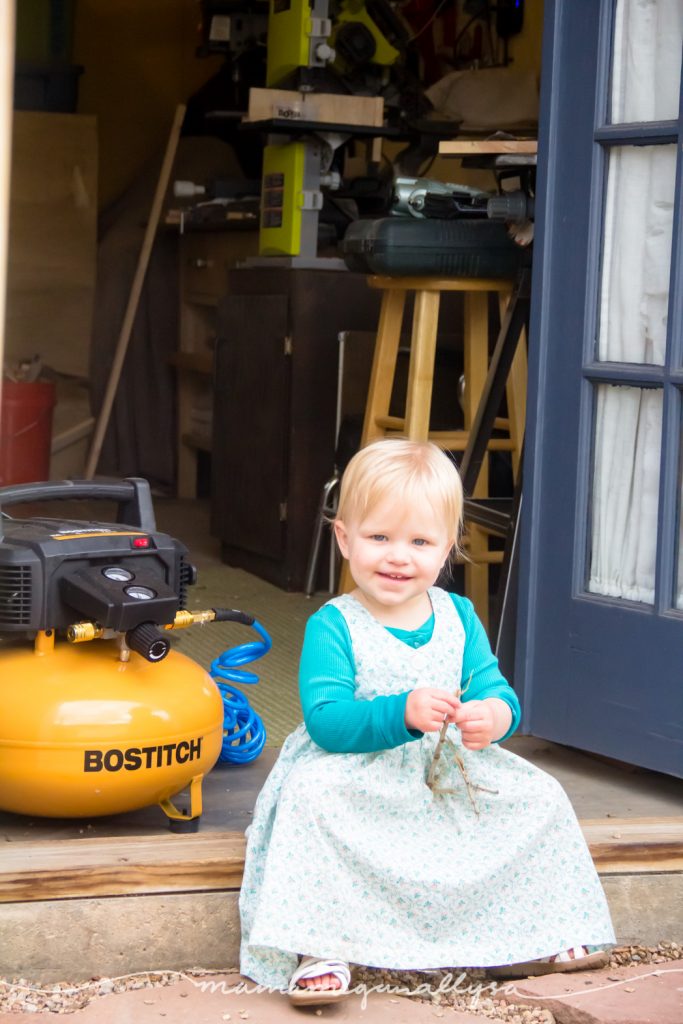
ADORABLE TODDLER BREAK
SLAT AND RAIL SYSTEM
After building both frames we added a sort of rail system to one to attach the tray slats to the frame. We took some of the 1×2 and laid them down running the length of the frame. Then you can lay the 1×3 and 1×2 down on top of rail system and it is flush with the top of frame!
This created a very strong tray for the bins to sit on so I could load them up with sand, rocks, water; what ever we want and there wont be any bowing or cracking! The rail system also provided a way to attach the slats with out the nail holes on the outside (i.e. most visible part) of the table.
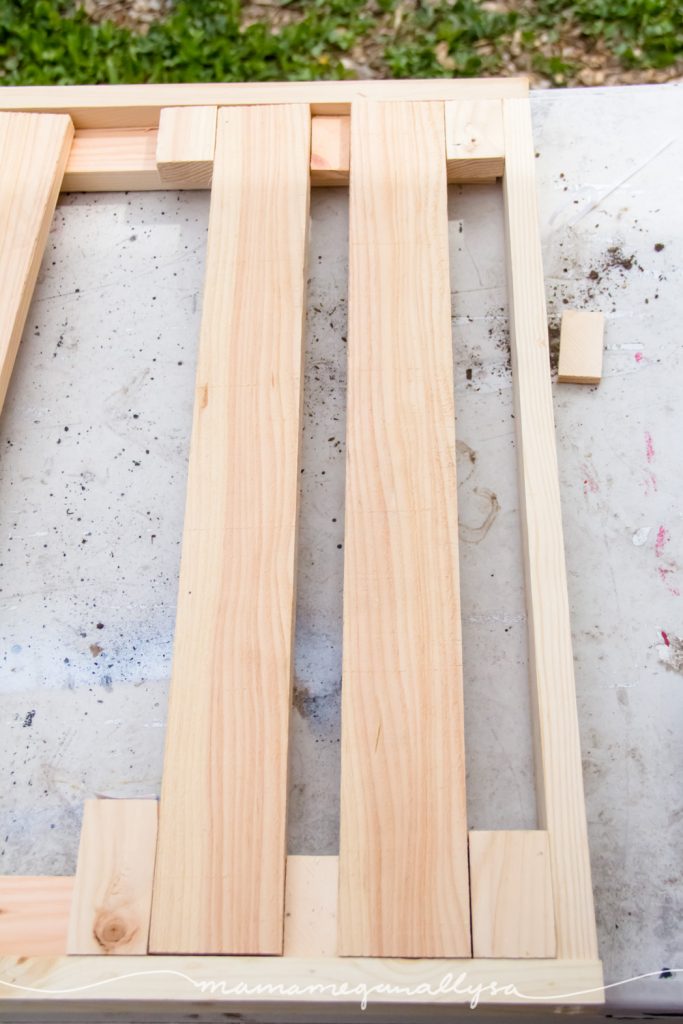
Quick Tip: Use scrap wood for spacers and dry fit your boards to make sure everything will fit before you nail anything in!
Okay this next step was a happy accident that took some fiddling. Using some scrap wood that we had laying around we created spacers for the slats! Originally we wanted to use just the 1×3 for the slats but they wouldn’t fit the way we wanted so we ended up mixing in some extra 1x2s and it worked out PERFECTLY to make a bit of a pattern. It was like we had meant to do that all along!
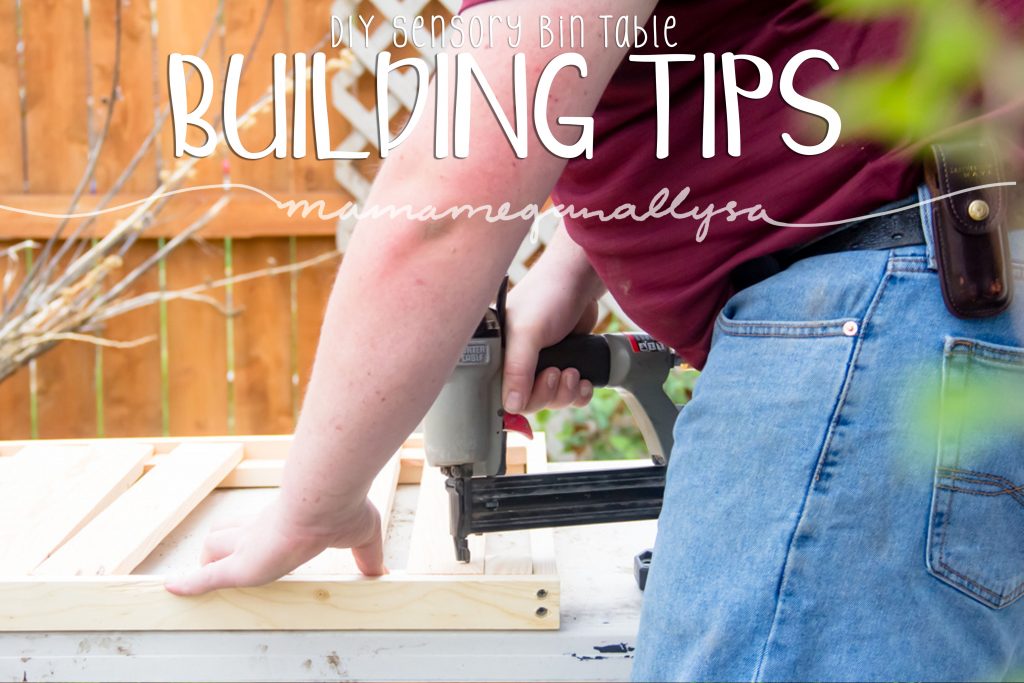
Using the nail gun to attach the bracers to the rain system was super fast and they were very secure! We were one step closer to our DIY sensory bin table.
STEP 2 –HOW TALL IS TOO TALL?
This is possibly the most custom part of this project. It all depends on how tall your little one is. You want the table to be easy to reach into but not so low that they are bending over it. We settled on the top of the table at armpit height. So if your building along, grab your tape measure and measure from the armpit down to the ground. This is how long you want your legs of the table to be!
Quick Tip: Err on the side of too tall. Kids only grow. It would be better to be a little too tall now vs. too short for the rest of their lives!

Bringing back the Basic Butt
Take your 1×2 and cut 8 matching pieces. For the frame you butted up the ends of the pieces, now you’ll be butting the long side of the piece. This also means that your legs will be 3 inches wide on one side and only 2 inches on the other. We used the nail gun again here to attach the two pieces.

Quick Tip: Set your legs up so that the wider side is on the long side of your table. It will look more balanced this way!
This is where the over-engineerer slipped up.
If you’ll recall there are screws already in the frame. You can’t screw into screws… so we had to improvise. We screwed the one side and then used the nail gun on the other. This is the part of our build that I recommend you think through better than he did and if you have a better way to attach them please leave a comment so I can tell Zak all the ways he could be smarter! Lol
STEP 3 – BRING IT ALL TOGETHER

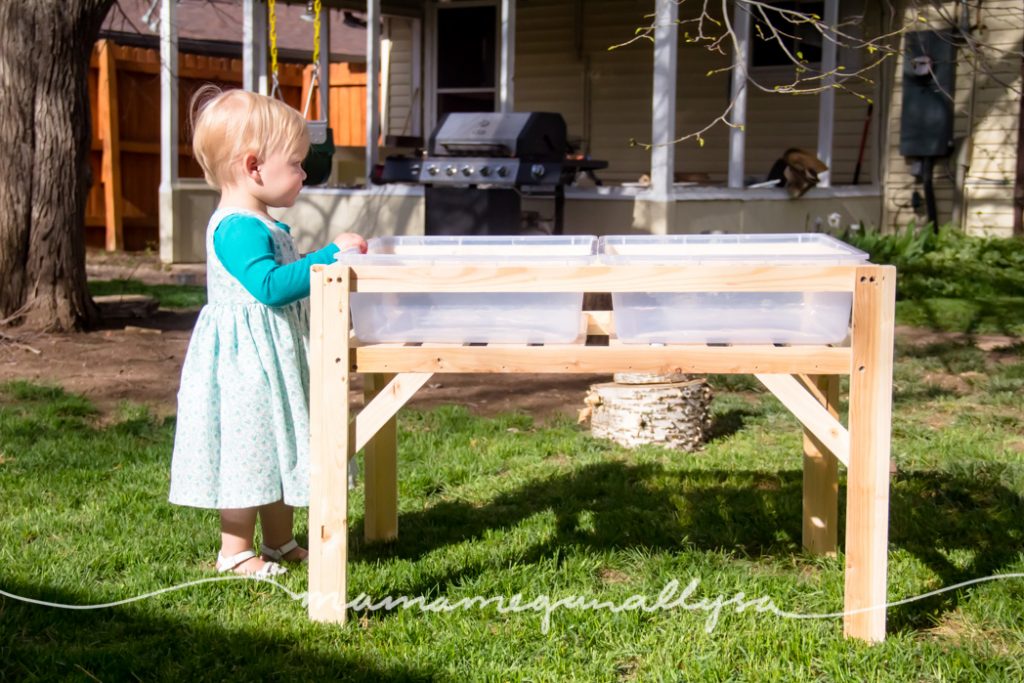
We now have the top frame attached to the legs and then bins are able to rest on that frame!

We found the easiest way was the flip the whole thing over slide the tray in and have the weight of the tray push the bins down and then you have just make sure that the table is sitting properly. If you wanted you could triple check with a right angle and a level but we felt that it as good to go and we attached it to the legs. Simple as that.
STEP 4 – AESTHETIC CHOICES
There was one more step on the original DIY sensory bin table tutorial though. They had added angled brackets to add stability. We honestly didn’t need the stability but I really liked how the angles looked. So we added them purely for aesthetics!

Each leg has two different sized angle pieces. a longer piece for the longer side of the table and a shorter piece for the shorter side. You Could choose to have them match in size, but that would require some extra calculations to get the angles right! By using a shorter piece it also attaches higher on the leg and this way both are attached to the inside of the leg and from the outside of the DIY sensory bin table, everything looks nice and clean!
We attached these pieces with the nail gun and learn from our mistakes here. Use longer nails. The ones we used gave up as soon as I started sanding. They just didn’t go far enough into the frame and this is where the wood glue came into play.
At this point, the DIY sensory bin table is done! It’s not finished but it’s completely functional. This is the end of day one for us and honestly, I took a couple of week break at this point (mostly cause the weather wasn’t great…) before I got a chance to come back to finishing touches.

STEP 5 – FILL IT ALL IN
The finishing steps started with filling all those countersink holes with stainable wood putty. This stuff is weird let me tell you, it’s got a strange consistency and its also quite messy to work with (just a heads up). I went around the table filling all the nail holes, countersink holes and any other cracks that I thought could use a little extra love
This will take at least two passes and I probably should have done three in some of the holes. After all that dries your going to want to sand away the extra and then give the whole table a good sanding.
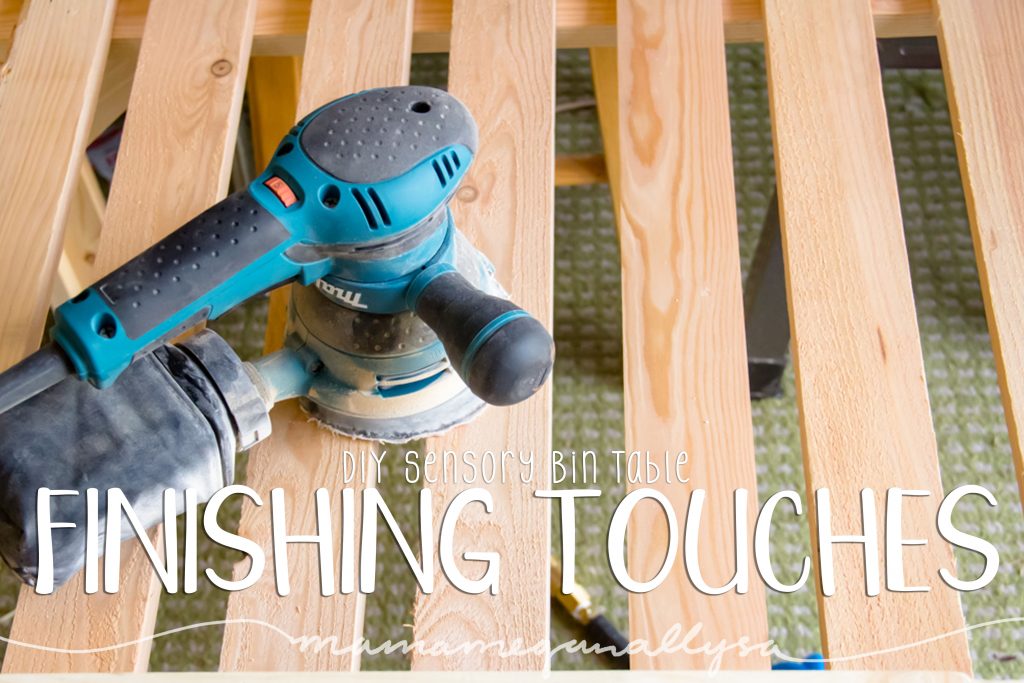
STEP 6 – SANDING IT SMOOTH
I used our power sander, and let me tell you. If you do more than say 2 DIYs a year, go ahead and pick one of these babies up. You will thank yourself so much. I can’t believe it took us as long as it did!
After everything is sanded smooth wipe down the table with a rag to get any dust that’s left taken care of and your ready to stain!
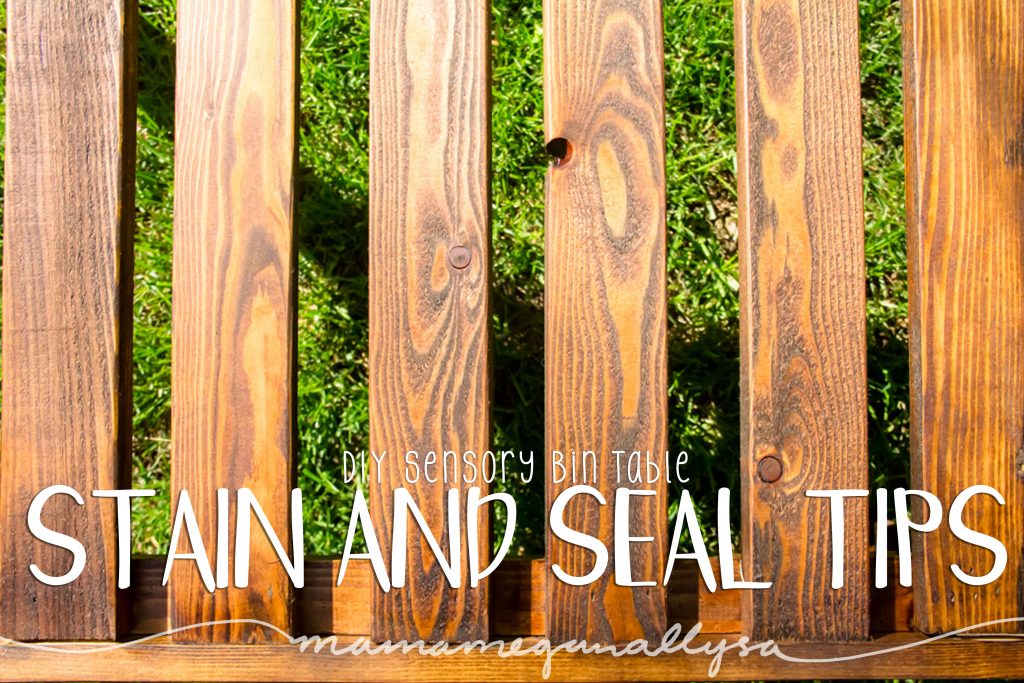
STEP 7 – DON’T BE AFRAID OF STAINS
Quick Tip: Wear disposable gloves. This stuff isn’t meant to be washed out and you don’t want to deal with it staining your fingers. Trust me.
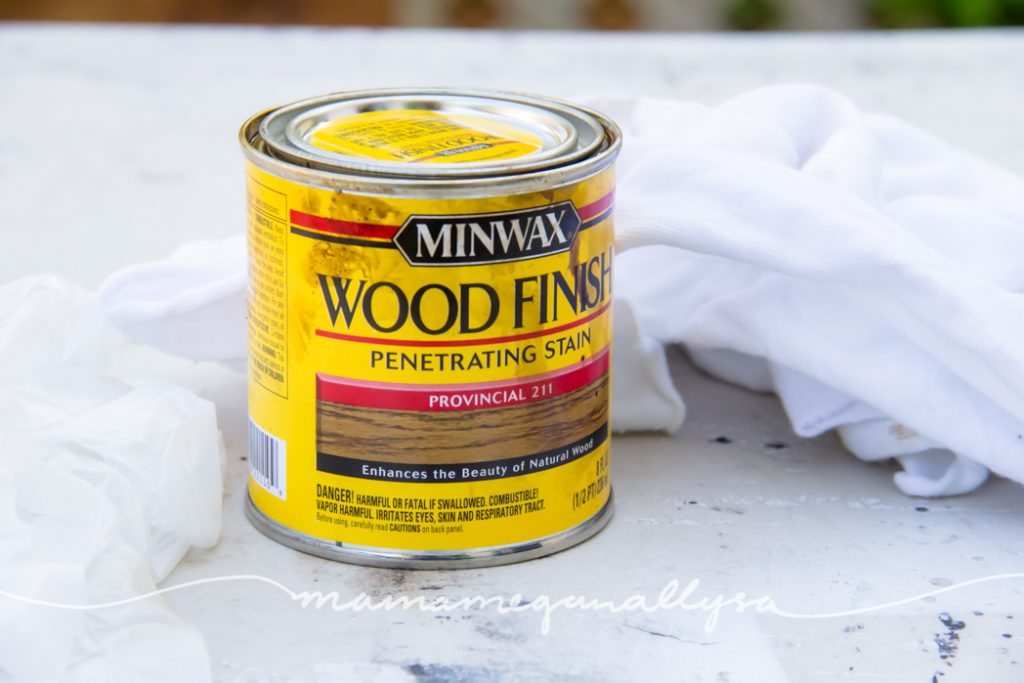
I picked a new color for this project and I am in LOVE. This is the most amazing mid to deep tone brown that makes the grain go really dark and it’s just gorgeous. Provincial 211 might just be my stainmate. <3


Quick tip: Even after your done Sanding. Sand again. You can see that I did a poor job cleaning up the overflow of wood glue and stain doesn’t care to stick to that very well. Learn from my mistake!
STEP 8 – PROTECT YOUR TABLE
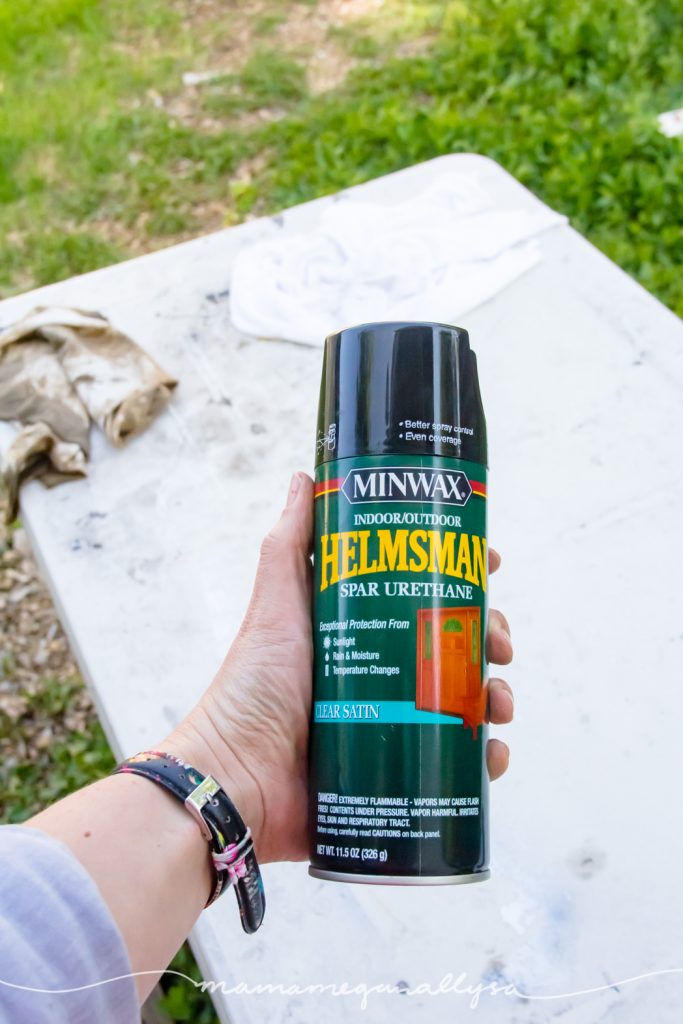
As a final step, you are going to want to seal your table. At least if you’re going to keep your table outside like we are. Normally I never seal wood projects. Maybe an oil or beeswax but I just hate the look of shiny wood, so I usually avoid urethane with a 10-foot pole. I had to give in this time because this table is going to be exposed to the elements. Both naturally and toddler induced.
I settled on Minwax indoor/outdoor helmsman spar urethane. I’ll be honest my biggest factor was the finish. I wasn’t able to find a matte finish but I did find satin and that is almost as good! 😉
Quick Tip: I wasn’t impressed with the spray sealant. It was really hard to tell what was actually getting sealed. So if your building along. Go with a can and a brush, I think.
HOURS OF FUN WITH OUR DIY SENSORY BIN TABLE

The little lady has already spent lots of time playing with her table and I am absolutely thrilled with how it turned out. It’s a great size and the double compartment leaves room to spread out!

Are you a handy person? Would you take on a project like this or do you lean more towards the IKEA route?
Leave a comment down below of your favorite DIY project you’ve done. I’m in LOVE with this one right now!

Other Posts you may like

This is great!!!!
Thanks! it turned out great, not perfect but I love it!
I love this and so does my daughter, she sent this to me and asked if i can build it. 🙂 The question i have is what size screws and Brad nails did you use?
Yay! So glad you like it! I don’t recall what size of screws we used we built this a couple of years ago now! haha