
The first time I heard the term loose parts was last fall; and trust me, you and your kids have played with loose parts. You just maybe haven’t used that term.

Loose parts play is just providing random loose parts for kids to do whatever they want with. They might make them play food or make patterns out of them. They might see how high they can stack them or sort them by color. The idea is that it is entirely up to your kid and their imagination!
This post contains some affiliate links. As an Amazon Associate, I earn from qualifying purchases. I may receive a small commission from if you follow and decide to purchase. There would be no additional cost to you!
The most well known loose parts companies are Grapat and Grimms (at least these are the two I hear the most about) .
These companies make a wide variety of loose parts and sure you can buy premade, but that’s just not my style! After some research and internet digging, I knew that there were at least SOME of the more common loose parts that I could totally manage to make myself!
Prepare yourself. There are LOTS of pictures coming.
In the Beginning
There are lots of options for where to find your raw wood. Craft stores, Etsy, and Amazon. Had I wanted to keep it simpler I would have, but I tend to over complicate things…
In the end, I purchased my supplies from caseyswood.com I found they had the best selection and their prices were good too!
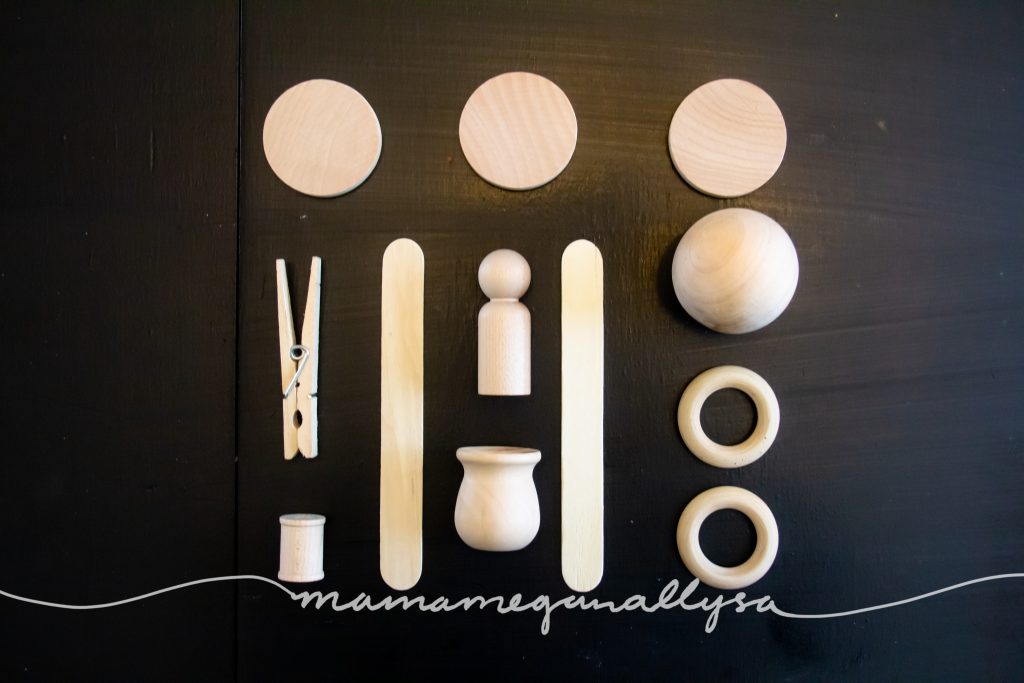
These are the items I settled on
- 20 – 2 3/8” peg people
- 20 – 1 9/16” bean pots
- 16 – 2” balls
- 32 – 1 ¾” rings
- 54 – 2” coins (discs)
- 16 – ¾” spools
I also picked up a couple other simple items that I knew I could paint to add to the set
- 20 – clothes pins
- 32 – popsicle sticks
You my be wondering why there are so many different numbers in that list. Trust me I had a theory!
Its just simple math
I knew I wanted to color match our Grimms Rainbow, but I also felt that there were some gaps that should be added in, plus some neutrals and in the end we had 20 different colors. So that is why there are 20 peg people and pots! We only have 16 balls and spools because I didn’t do any neutral colors for those. The rings are easy enough to figure out, as I just wanted 2 of each color of the rainbow (no neutrals) so that gets us our 32. The coins are the trickiest. I went for three of each of these colors (love me an odd number every now and then!) BUT this time I did the full rainbow, plus black and white. I didn’t want to do brown and natural because I have actual branch slices that I can use for that. So 18 colors at 3 coins each and that is where we get 54 from!
Time to paint : but with what?

I sat on the raw wood pieces for a quite a while before I got the nerve up to paint them. There were visions of matching our Grimms rainbow in my head and that meant I needed to be picky about colors. I debated on food dye, proper wood dye, watered down acrylic and DIY wood stain.
I settled on acrylic for a few reasons.
- it’s cheap
- it’s readily available
- it comes it a wide variety of colors from the get go
Food dye is a good option, though a slightly more limited pallet unless your game to start mixing. Also it is water soilable, so if your little is still mouthing things the color would bleed. Ultimately I said no because I couldn’t figure out how to seal it without some kind of gloss. Still doing research there, as I would love to have taste safe for future projects. (Not that Bitty is still mouthing things…)
Wood dye would do what I want but DANG that stuff is expensive and with the base colors you have a limited pallet.
DIY wood stain is a new idea to me and I am interested to try it out at some point I just decided not to for this.
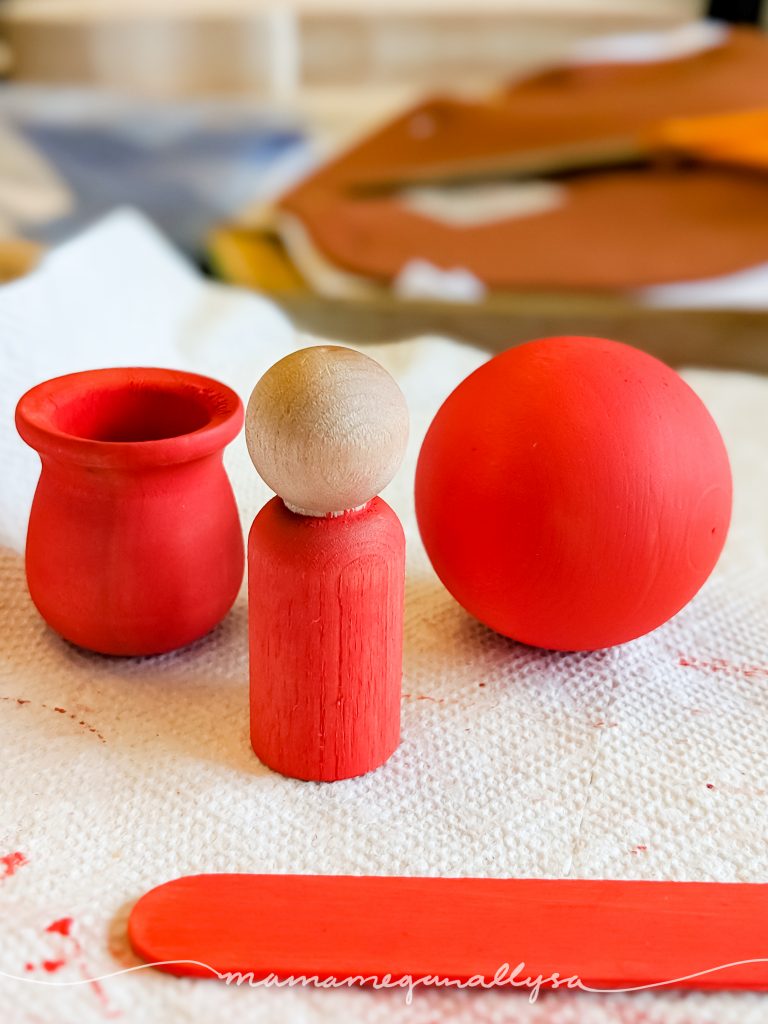
Trick time: By watering down the acrylic paint we can still see some of the wood grain underneath and we don’t loose the texture of the wood either!
For the colors that matched up with our Grimms Rainbow, I wanted to be as close as possible. Some of the paints that I picked up worked great from the get-go, others needed a little custom mixing. I also wanted everyone to be the same ratio of watered-down so that the wood grain showed through, I ended up on a 2:1 ratio of paint to water.
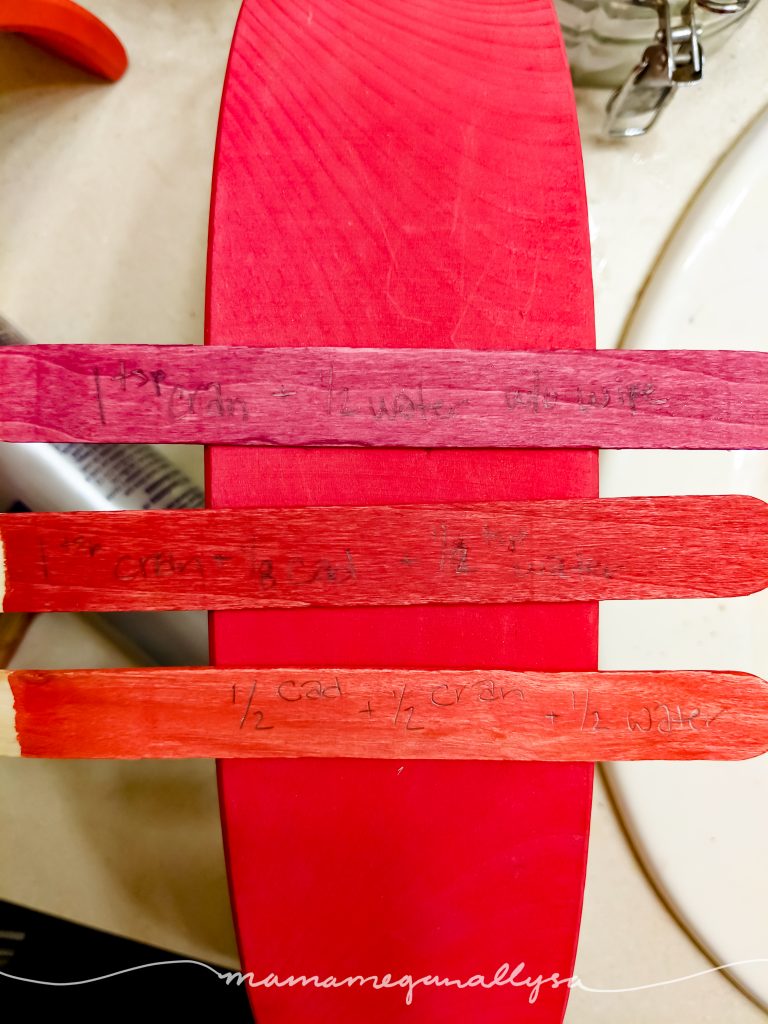
I used spare popsicle sticks for color swatching. You can see here some of my notes trying to find the right red! 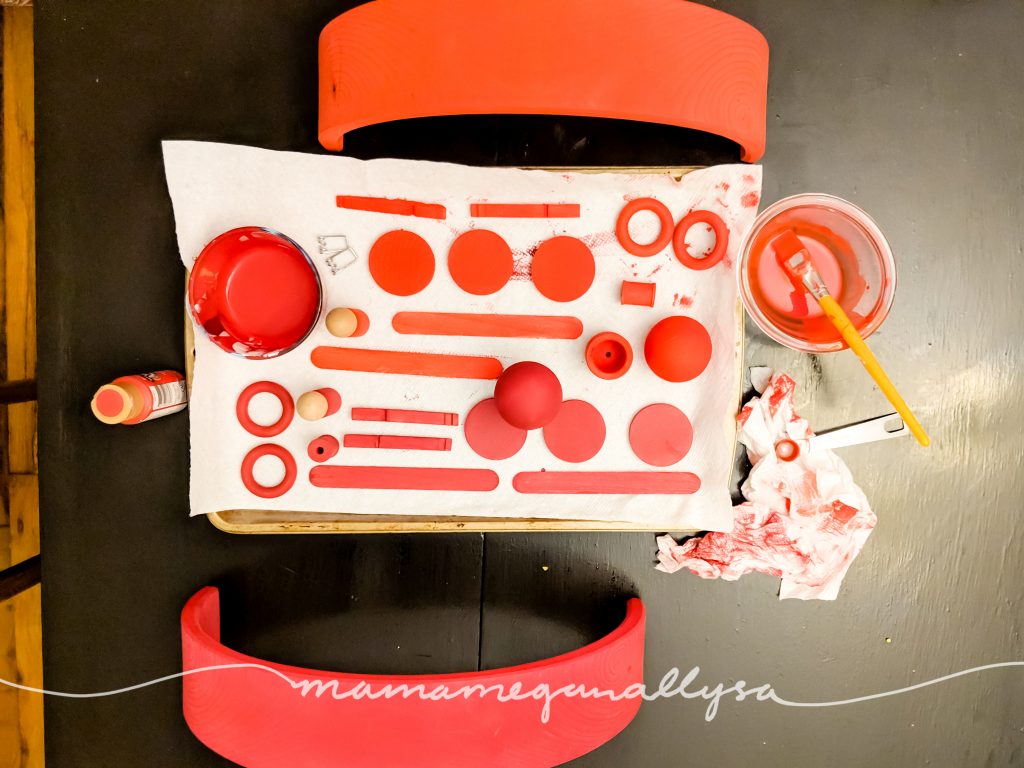
These two reds were some the trickiest to get right
Sealing it up
I have yet to seal these. I have toyed with the idea of beeswax or mineral oil. But those would eventually need to be reapplied. There are a number of clear coats I could use but I don’t want to lose the wood texture… I am also hoping to find something nontoxic.
If you have any ideas on what we could use to seal these babies up leave a comment down below!
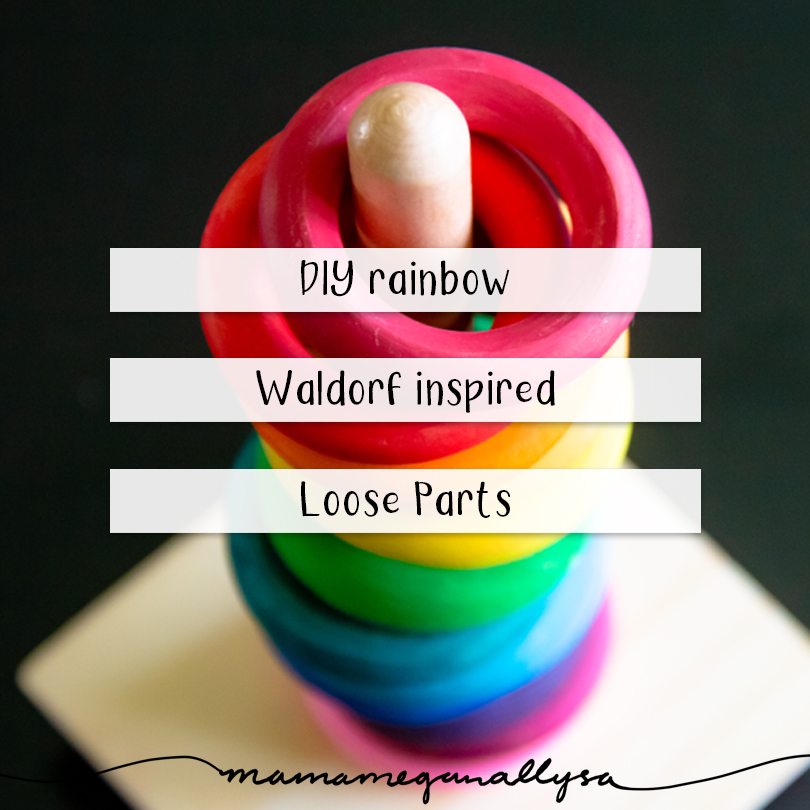
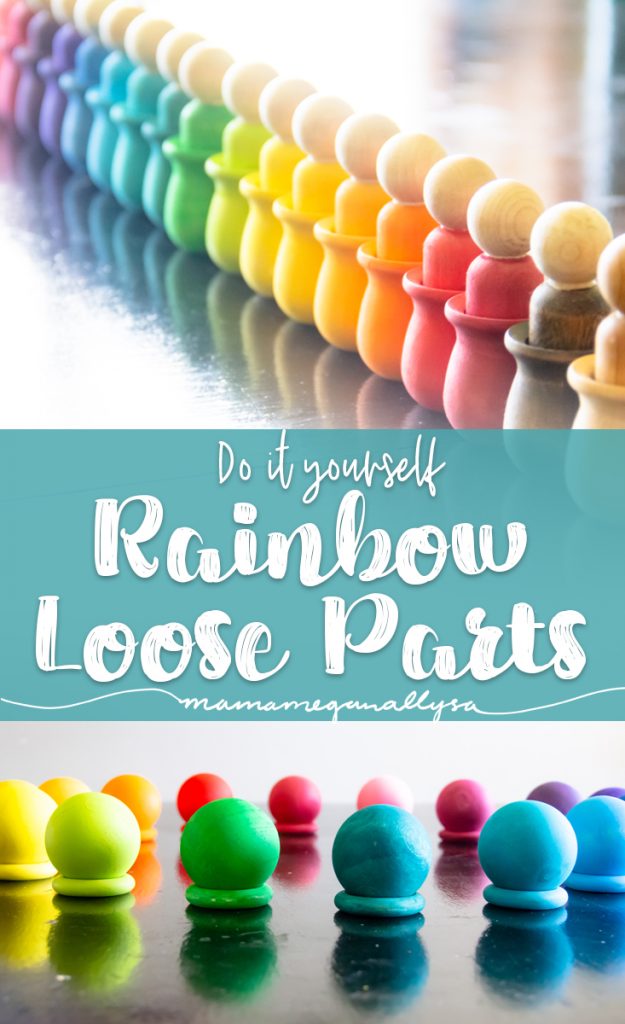
Ok enough of the boring behind the scenes. You’re here for rainbows!!!
Let the Rainbows begin!
I currently keep our loose parts put away for the most part as I feel she would get overwhelmed with the whole collection out. So when we get them out we just get our a few at a time, and usually with some sort of invitation to go along with them. This helps get the juices flowing and then from there she gets more creative!

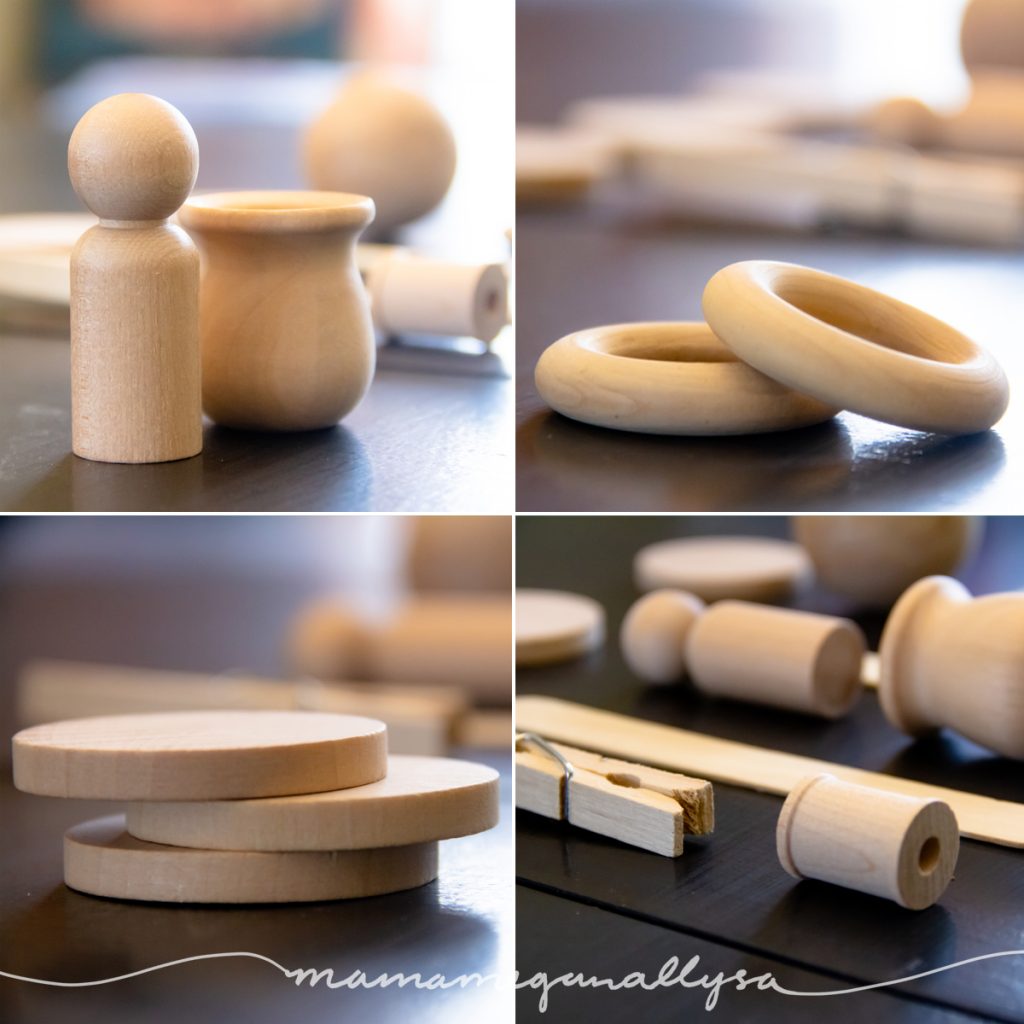
Peg People & Bean Pots
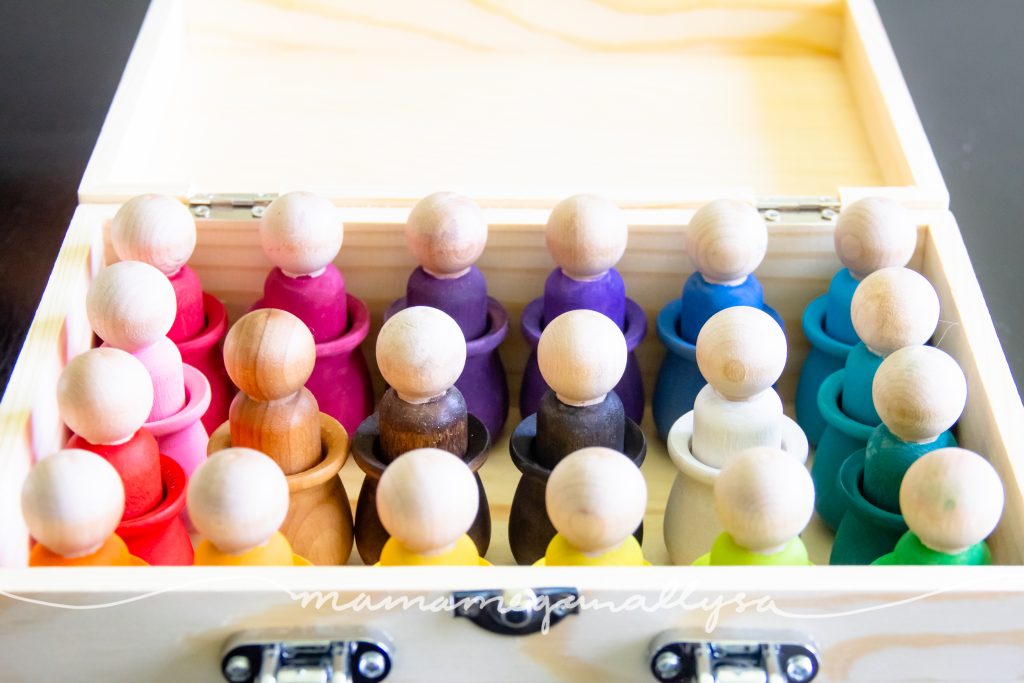
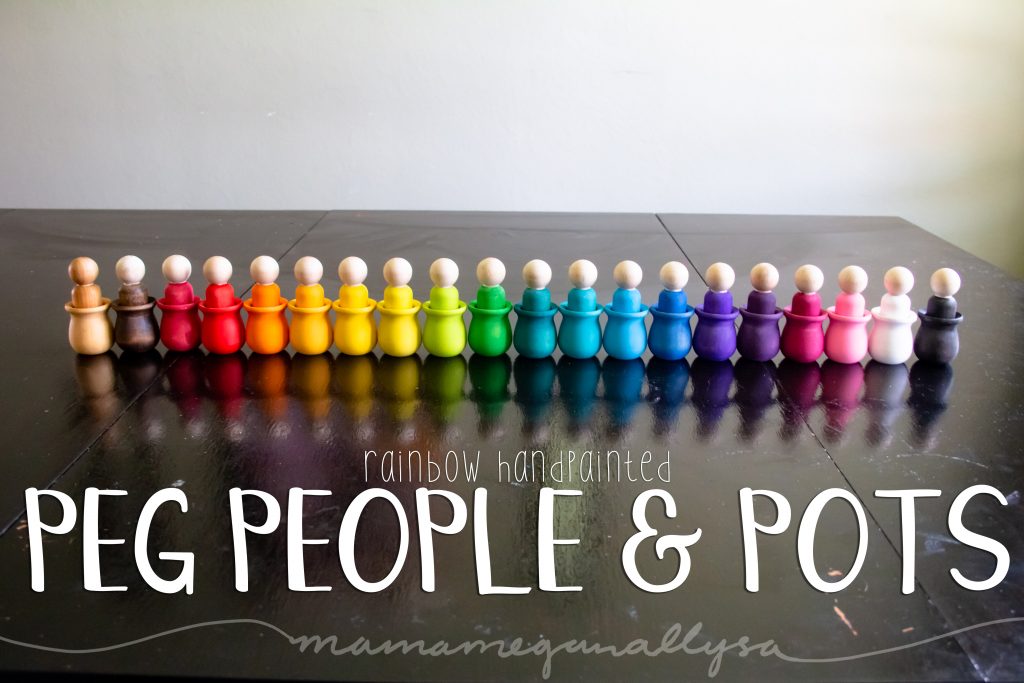
These peg people and pots are possibly the most well known. I think this is because parents understand them more. There is a goal, a purpose, a skill to do with this. While that is true they are still just as open-ended as any of the rest.

Rings and Coins
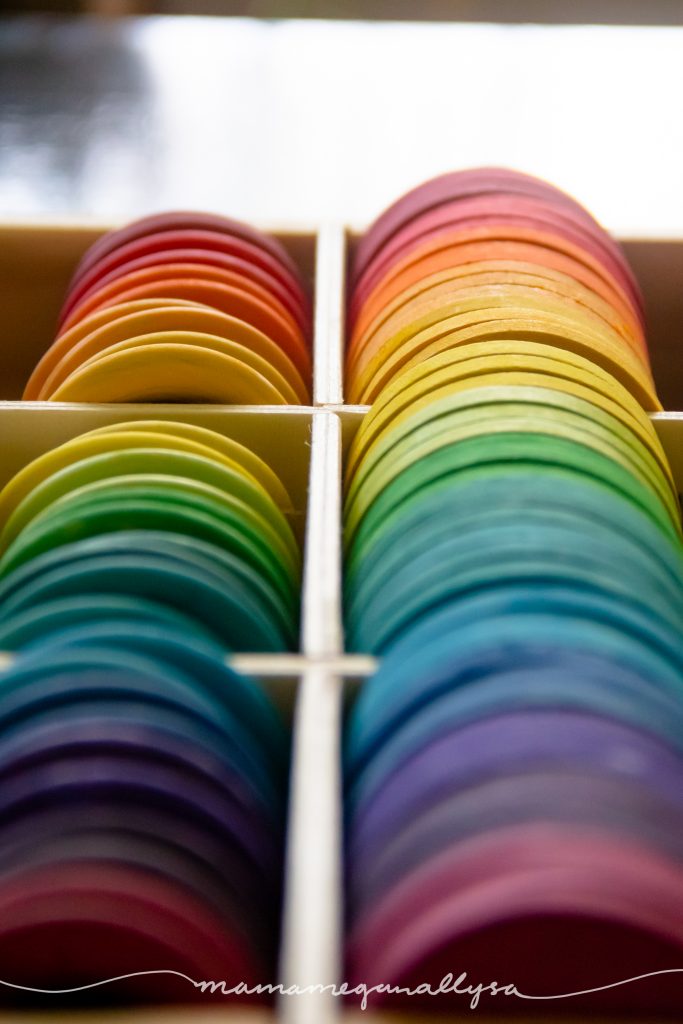
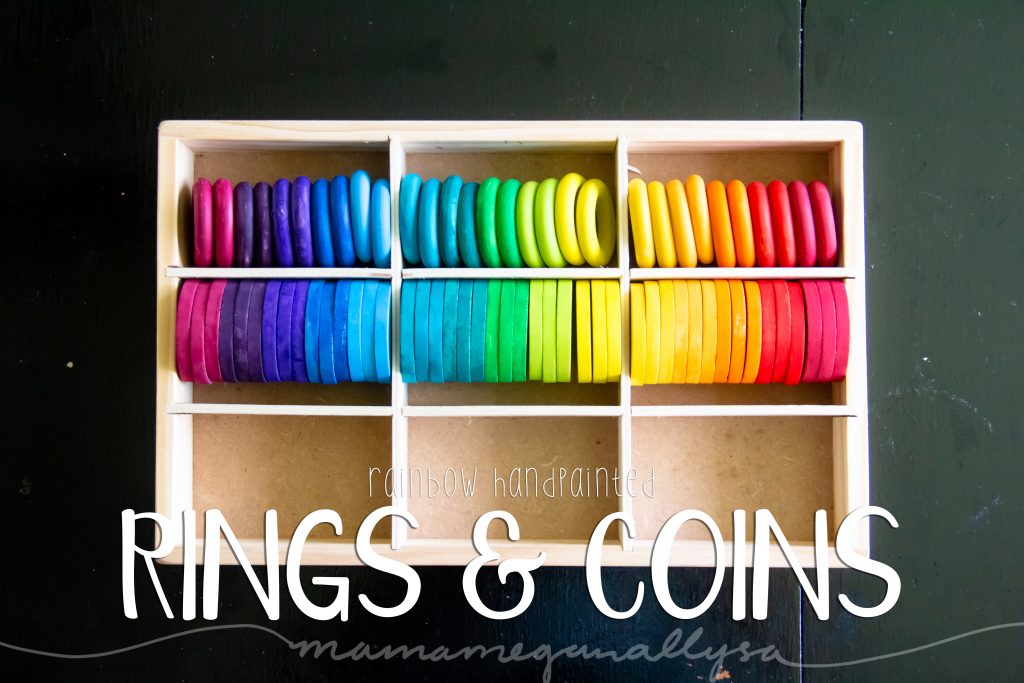
The coins and rings are possible the most open ended. They can be used for building or posting or stacking or sorting or rolling or small world. The list is endless…but that’s the point!

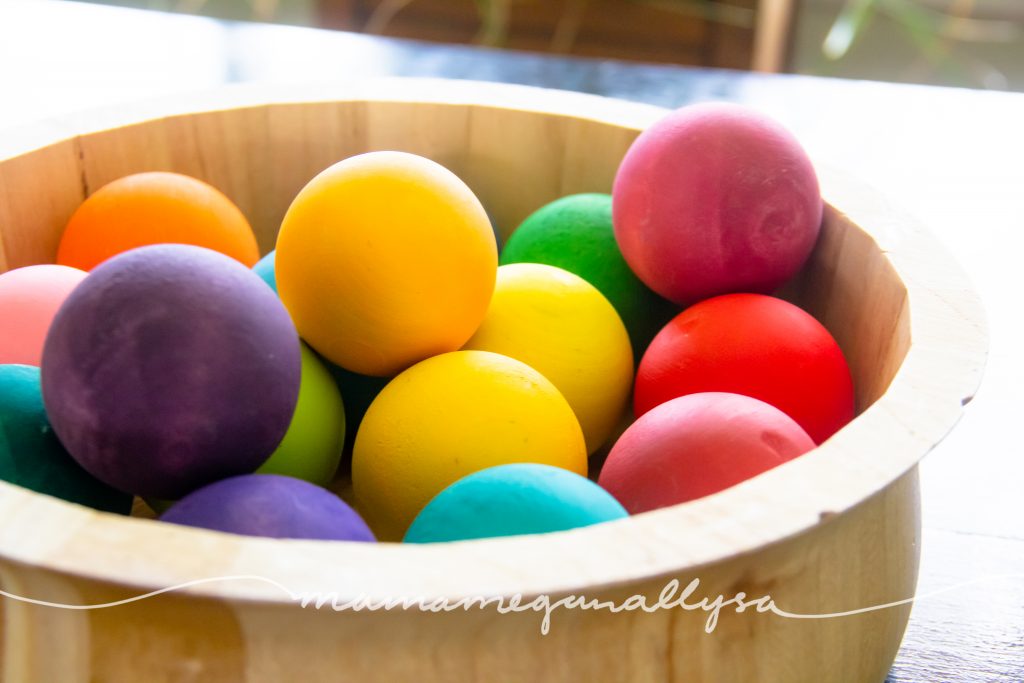
Balls
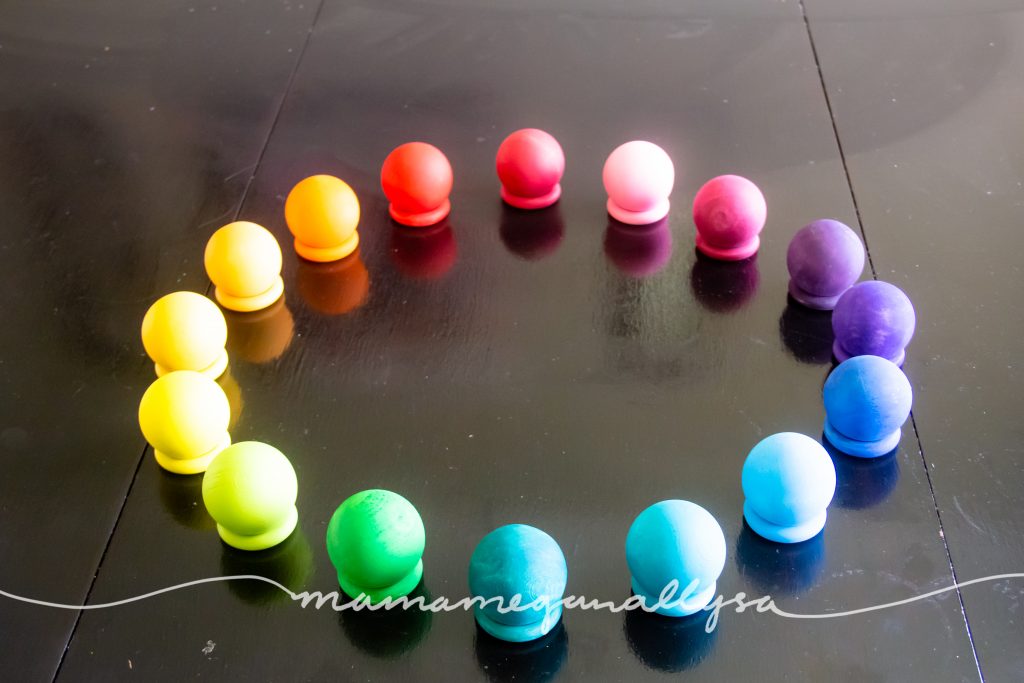
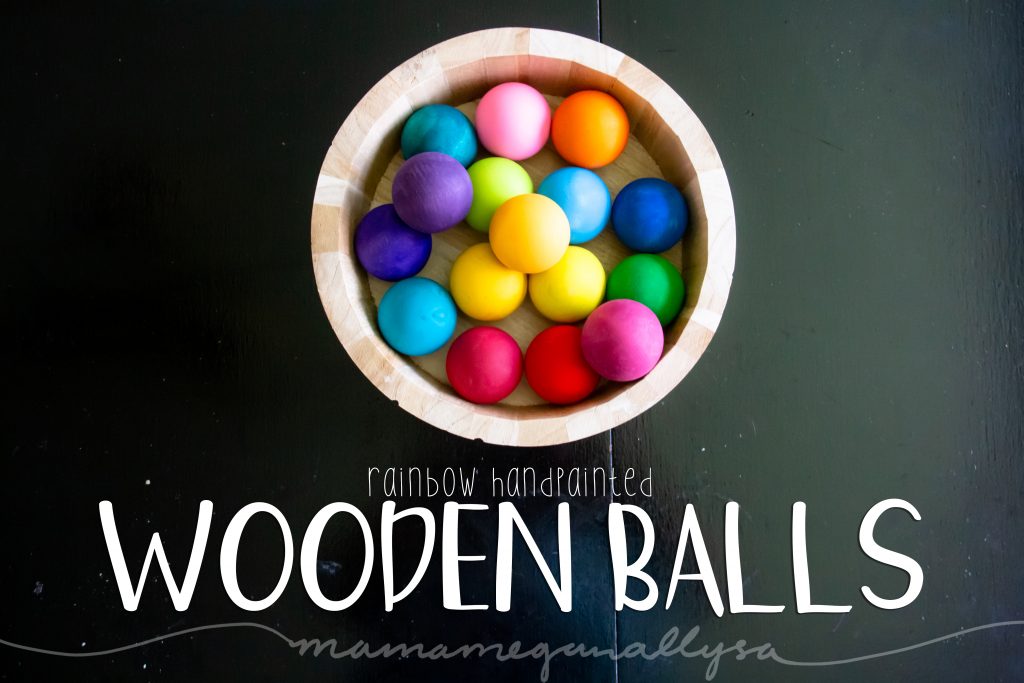
The balls are just that, balls. Anything you would want to use a ball for you can use these for. They do have a really nice weight to them…so maybe don’t throw them…lol
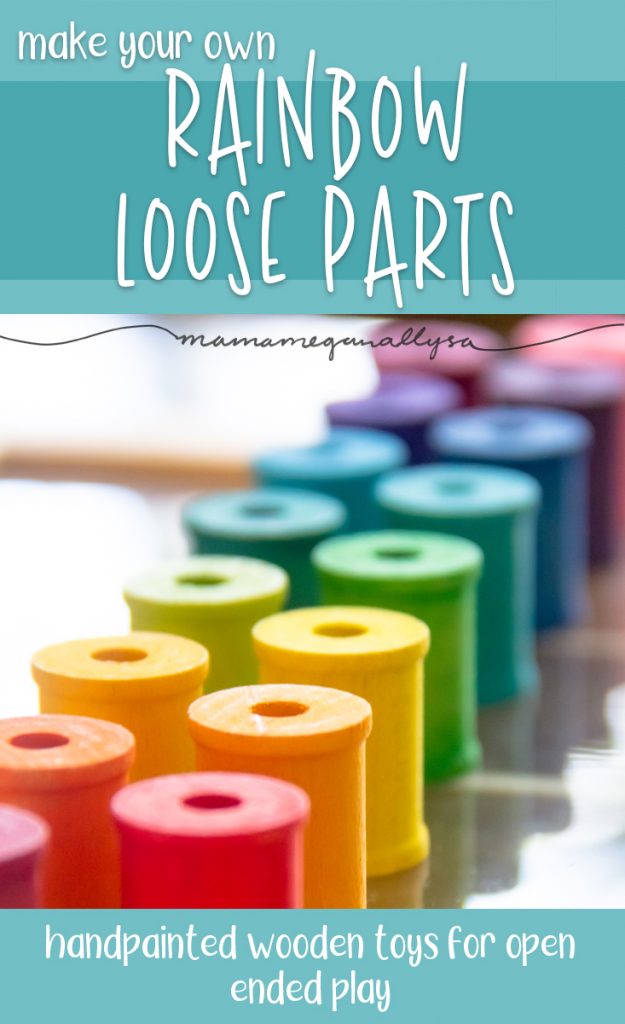
Spools


These spools are great for lacing and stacking but could be used for anything. Advice time: If you are making these, get larger spools to make it easier for little hands to work with them!

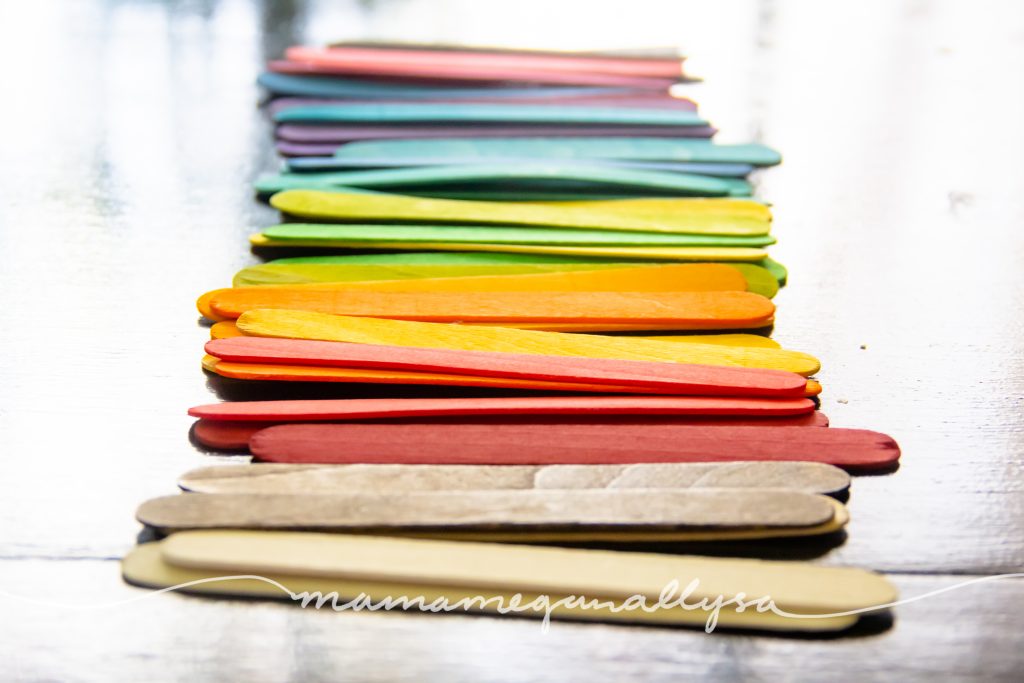
Popsicle Sticks
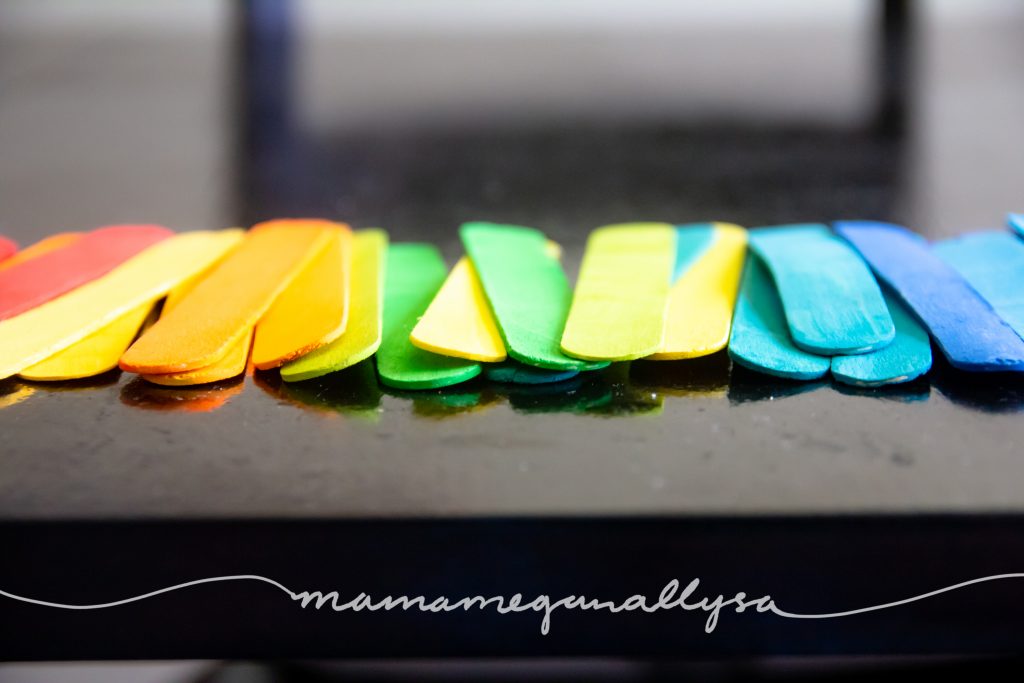
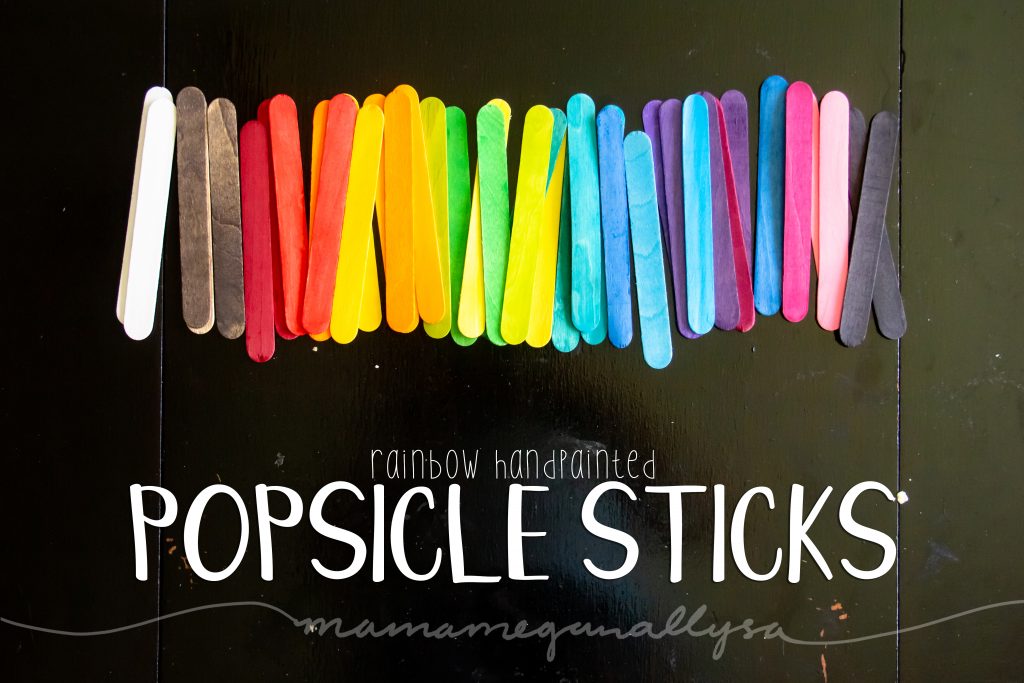
Advice time: If you want to make these popsicle sticks, buy slightly higher quality. I purchased mine at the dollar tree and the added water in the paint made some of them bow a little.
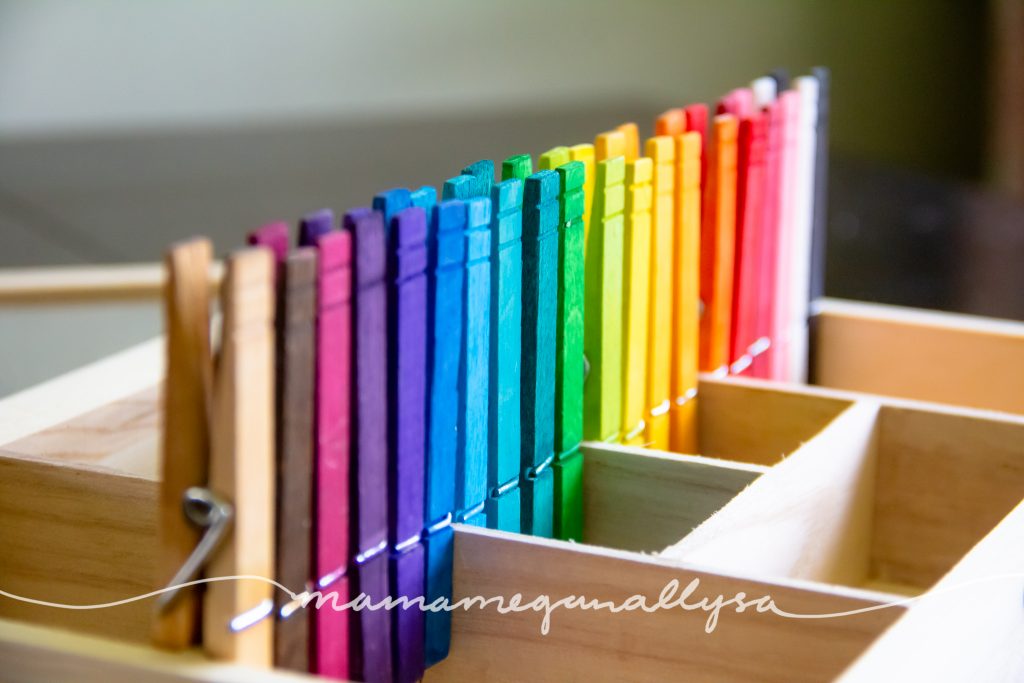
Clothes Pins


Tip time: If you’re like me your first instinct will be to pull the clothespins apart to paint them. This makes painting them a breeze! BUT putting them back together marred the paint. So when you make yours leave them together, getting into all the nooks and crannies was trickier, but the end result was better!
Homemade toys
This was a bit of a passion project that just kept getting bigger and I absolutely love how these turned out!
Have you ever head of loose parts play? Are you the kind to take on the task yourself or buy the premade. After doing this I would totally make more but new shapes and objects are harder to find so we might end up buying some too!
This is incredibly well done!
Thank you! I am really happy with how they turned out and now I want to do more! lol I’ve been bitten by the DIY rainbow bug!
Did you ever seal it in the end. If so what did you do. My brain is buzzing with excitement after seeing this
I have not, no and I haven’t really noticed a need to. There are a few marks of wear and tear but I don’t mind that honestly. I have heard some good reviews of matte finish mod podge as a sealant if you still want to seal them! So glad it inspired you!
Use beeswax
beeswax is a great conditioner and finish, but it is not a sealent.
I will be truthful..I have not tried this product yet..an other wooden parts and toys lover has been using wood wax..I had no idea what that was..she had ordered on Amazon so I ordered the product..going to give it a try this week..it is food grade..VIRGINIA BOYS KITHCHENS’ WOOD WAX.
Wax tends to need reapplication and is not a sealant, so much as a conditioner. It soaks into the wood but does not create any kind of barrier.
So colorful! What a great idea!
Thanks! They just make me drool when they are all laid out in order!
This is extraordinary!! Thank you so much for posting and sharing. You did an amazing job and they look just as good as Grimm’s. Do you mind sharing where you for your acrylic paint from?
Thank you, Lizzy
Thank you! I got most of my paint from Hobby Lobby but I think for the next round of projects I am going to switch to Folk Art Paints. They are non-toxic so a little safer if you’re going to have them around babes that might be mouthing!
I love seeing kids use their imaginations with toys that don’t give you specific instructions on how to use them, or what their intended use is have listed some very good tips on how to empower a kids creativity to play with a toy or object that has been around for generations. More parents should encourage this kind of creativity over spending a ton of money expensive stuff that ends up in the bottom of the toy box in a couple days after you’ve spent your money on them. At least my kids do.
Yes! Open-ended play is so much more enjoyable for everyone! My little lady isn’t much a builder or stacker so I had to find a different way to encourage that imaginative play. These loose parts are just the ticket!
This is really a neat up-cycle you are so cleaver to have made these. Happy Mother’s Day, Kippi #kippiathome
We didn’t actually up-cycle these. I purchased the supplies, BUT I do have some up-cycle stuff coming up!
These are gorgeous and exactly what I am after doing! With the acrylic paint, did you buy all the different shades or mix? Thanks for sharing these gorgeous pictures too!
I did end up buying all the different shades, but I knew I had(have!) a lot of projects that I wanted the colors to match across so I didn’t mind having the paint around. I did end up mixing a few shades to get them just right in the end though… Good Luck!
Are you able to share the shades of paint you used please?
I do not have the list of shades that I used as for a few of the colors I did end up making custom blends to get the tone just right. I would suggest getting as close as possible and then doing swatches to get a better feel for the color! Sorry I cant help more than that!
Did you make the stacker for the rings too?
No, I resued a stacker from one of her toys that we already have. But it would be super simple to make a stacker!
So inspiring! I’ve been dreaming of buying some Grimms goodies but can’t afford it right now. These are great! Might you be willing to share the exact colors/brand of paint you used? Also where did you get the cool wood storage box?
Grimms and Grapat are just beautiful aren’t they!? The storage boxes are from Hobby Lobby except for the 3×3 rectangle that is a Melissa & Doug box from a set of cars. I sure could share the colors but, I honestly can’t recall if any of these are custom tints but the base color would get you close!
Cadmium red- I can’t tell you the brand, as its an old tube leftover from my college days…
Red Alert- Americana
Orange-Anitas
Tangerine-FolkArt
Sunflower-Anitas
Canary-Anitas
Citrus-FolkArt
Shamrock-Anitas
Deep Green-Anitas
Desert Turquoise-Americana
Island Blue-Anitas
Deep Denim-Anitas
Purple Pansy-Anitas
Deep Eggplant-Anitas
Cranberry Wine-Americana (I’m pretty sure this was one that I had to tweak.)
Electric Pink- Americana
Bark Brown-Anitas
Then a pure White, Black and I left one natural and just oiled it with some cutting board oil
Wait for a sale at one of the craft stores and stock up that way thats what I did!
Thanks so much for the colors! So helpful. Can’t wait to get started
These are just gorgeous, just what I have been looking for! I am looking to make my own. Have you thought about Linseed oil to seal? We used it for a diy Pikler triangle, seems to be great!
I have! Most oils are less of a sealant and more of a conditioner. They add moisture but eventually need to be reapplied. Similar to lotion for us! they can also alter the color of the wood, something that I am trying to avoid, but I should totally oil our Pikler. It could do with the moisture!
Wow, how beautiful!! Could you list the brand and colors of the paints you went with? I’m hoping to eventually get a Grimm’s rainbow but don’t have one now to color match. Thanks so much!
Thank you so much! It’s such a fun way to add some color to our tinker trays and sensory bins! I have a list of the paints that I used but to be honest I had to do some custom blending to get a lot of the colors just right.
Cadmium red- I can’t tell you the brand, as its an old tube leftover from my college days…
Red Alert- Americana
Orange-Anitas
Tangerine-FolkArt
Sunflower-Anitas
Canary-Anitas
Citrus-FolkArt
Shamrock-Anitas
Deep Green-Anitas
Desert Turquoise-Americana
Island Blue-Anitas
Deep Denim-Anitas
Purple Pansy-Anitas
Deep Eggplant-Anitas
Cranberry Wine-Americana (I’m pretty sure this was one that I had to tweak.)
Electric Pink- Americana
Bark Brown-Anitas
Then a pure White, Black and I left one natural and just oiled it with some cutting board oil
Wait for a sale at one of the craft stores and stock up that way that’s what I did!
I love, love, love these! I am all for pretty wood toys in the home. Is the acrylic paint safe for babies that are still mouthing everything?
Thanks so much! Some acrylic paint can be non-toxic. You would just have to do some research, I’m not sure of what brand. The other option would be to find a non-toxic sealant to cover the paint. Again not sure of a brand but I’m sure it exists!
so do you need sealant / fixer after you paint it? what did you use? I am interested to follow you painting our own loose parts, but I am still wondering will the acrylic do okay if my baby put the toys inside his mouth :”)
You can do a sealant, I chose not to as I wanted to keep more of the wood texture. By watering down the acrylic it absorbs into the wood a bit instead of sitting on top of it and I have not had any issues with chipping or color bleeding. That said my toddler has never been mouther so the loose parts haven’t been playtested in that way yet! lol There are non-toxic acrylics on the market if that is something that you are concerned with. Good luck!
I used to work in the paint department at Home Depot. We stocked a sealer for butcher blocks and salad bowls, that was food safe— sorry I cannot remember the name! I have used it— wiped on easily, and did smell when wet, but dried well and very durable. I’m sure it should be safe for children’s toys. Or buff with beeswax— fiddly but it smells great!
What an amazing job, been looking at the sets, but just so expensive to buy. Can I ask how you even tracked these parts down? I’m not in America, I’m in Australia, I don’t even know what to google search to find the items to use as pots and people etc.
Thanks
Thank you!
I can’t recall the company I used anymore, but if you google small wooden parts you might find some leads! The people are peg people and the pots are called bean pot candle cups. You’ll want to make sure that the diameter of the peg people will fit into the pots you select! Some other search terms might be wooden coins or discs. Spools (if I could do it all over I would have gotten bigger spools)
Thanks for sharing! This is so much more affordable. I had no idea their expensive spare parts were just wood parts haha. I also really love the eggs on Casey’s wood, thanks for sharing their site!
YES! There are some of the unique shapes that could prove hard to source but most of the basics are easy to find!
Hello! I was just about to drop $300 on grapat and came across your blog. I knew there had to be a better way! Thank you. Have you ever considered using Mod Podge as a sealer?
So glad I could help! I had never thought of that. I personally like the feel without a sealant but if my little starts mouthing things I may have to change my tune! lol
This was such a great explanation. Very nicely done.
I made a multi colored ring stacker for my son with a leftover (mistake) piece from our pikler lol. I want to dye to rings w acrylic paint, but what’s the best way to do it? Did you paint 2 side, dry, then paint the other?
Thank you! I like a watered-down acrylic personally it leaves some of the wood grain showing through! Yes I painted one side and tried to not leave any big drips, when that was dry I would flip and paint the other side.
Where did you find your boxes?
Most of my boxes are thrifted or reused from other toys. Both boxes with the lids are from Hobby Lobby. I would love to find a good divided tray that fits everything better!
Hi im glad to come across your post it is so useful. I saw you shared the list of acrylic paint however should im only interested in the 12 rainbow colours to match Grimm’s rainbow set will you be able to advice? Thanks.
I’m so glad to have been some help! I actually can’t get you a perfect list as I had to mix some of the colors to get them just right. I have heard that you can get really close, using some Folk Art Paints. I personally don’t know what ones as I didn’t use them for this project.
No prob, thanks for your advice!
Thanks for the post! Any tips for painting the balls?
You could use an egg carton or mini muffin tin to rest the balls on while they dry. I think I ended up with a fair amount of paint on my fingers when I painted the balls. You could always paint one half let dry and paint the other side, you would just want to avoid any kind of line where you stop painting. Good Luck!
This is such a great idea.! Thanks for sharing. I wondered though how you paint the items , or rather what you set them on tho dry so they dry evenly. I’m worried they wouldn’t dry evenly or paint would come off somehow when drying.
If its something that has a large flat side you would do one side let it dry flip it over and then pain the other side. The balls were the hardest, I found using a baking cooling rack was the easiest/cleanest. I sometimes had to touch up a little, but most of the time it worked out great!
Hi, Where did you get the tray to store the parts?
the 3×3 is a repurposed tray from a set of Melissa and Doug cars, the one with the glass lid and the wooden box with the lid are from Hobby Lobby. I am in the works right now to try and make my own trays soon because I have too many jobs for the ones we have!
I just came across this, absolutely beautiful. I certainly would want to play with these rainbows.
I have used RIT fabric dye on wooden pieces. You don’t get the variety of color but if you need a lot of pop sticks or clothespins for a game or project it works well.
I have heard of people using RIT. I tried to make enough pieces here that I might have to look into it if I make another set f pieces!
Hi-I really enjoyed your instructions and adorable project ideas. Do you ever find that the wood swells a little after staining or dyeing? My wood peg dolls fit perfectly into bean pot cups when they were unfinished (or painted), but after staining/dyeing, they no longer fit in. Any advice would be appreciated.
Thank you! Yes, some of the wood will swell with watered-down paint or stain. None of my pieces were that tight of a fit, to begin with that the swell caused a problem. Im so sorry that happened for you! you could try light sanding to take any raised grain away. In theory, it shouldn’t alter the color too much. Other than that I don’t have any ideas sorry!
Where did you get the wooden trays to store all the pieces?
Hobby Lobby has some options in their unfinished wood section, that’s where the two lidded containers came from. Also Melissa and Doug toys often come in wooden trays that’s where I got the 3×3 tray it was a set of cars!
Hi! Do you know where your ring stacker came from?
It is a reuse of a Melissa and Doug stacking toy I believe!