

Don’t let yourself get overwhelmed by the idea of building a sensory bin for your kiddo. They are super easy to do and only take 4 steps to endless fun!
- Bin, tray, or bowl
- Base or Filler
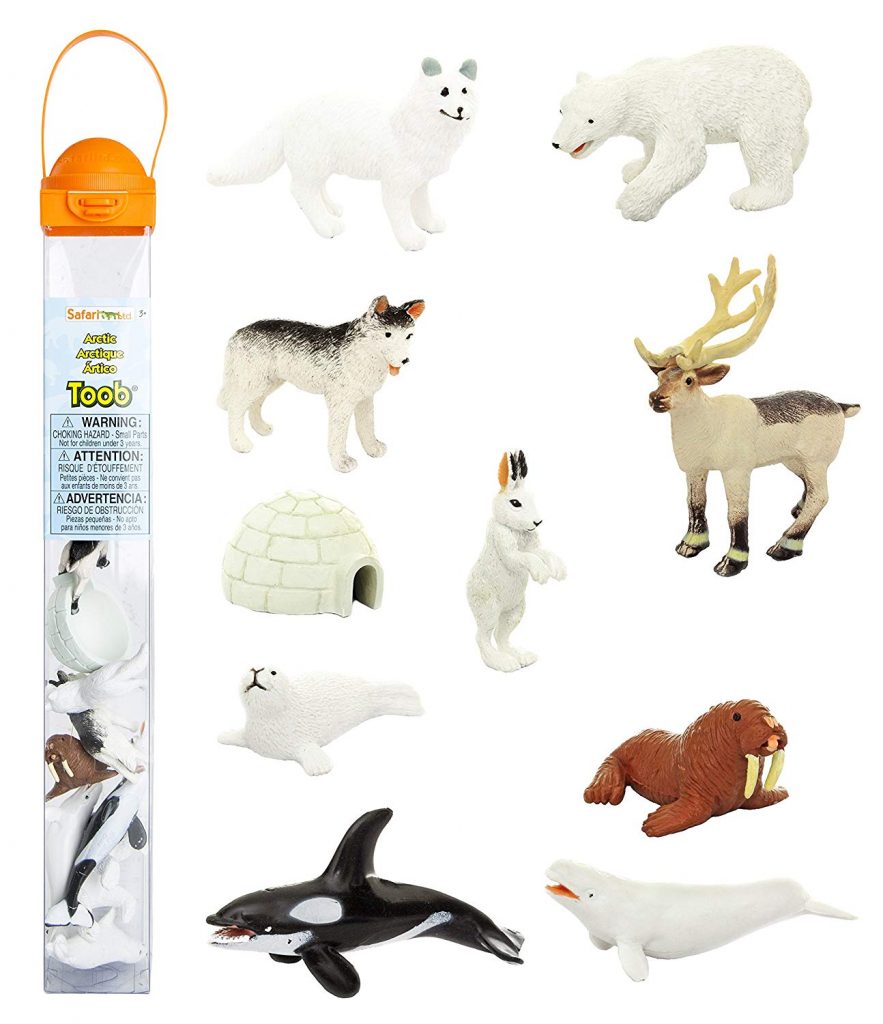
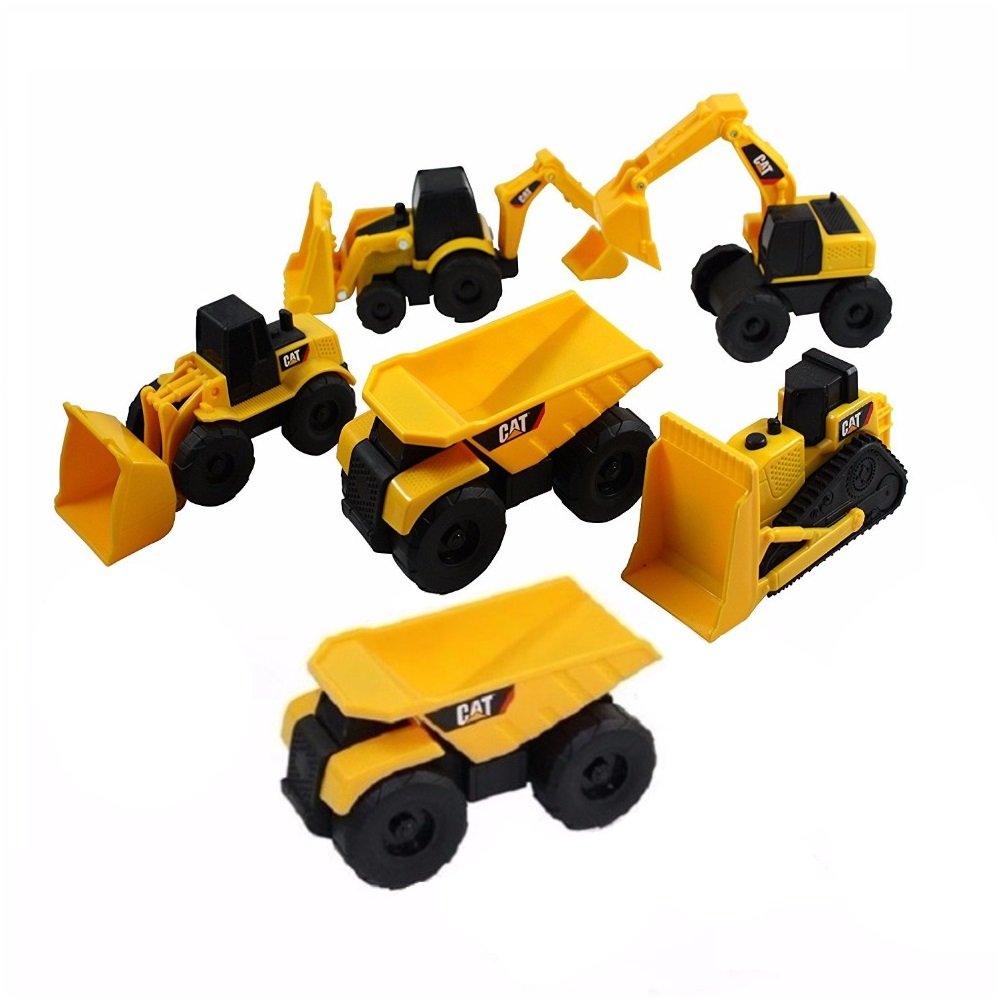
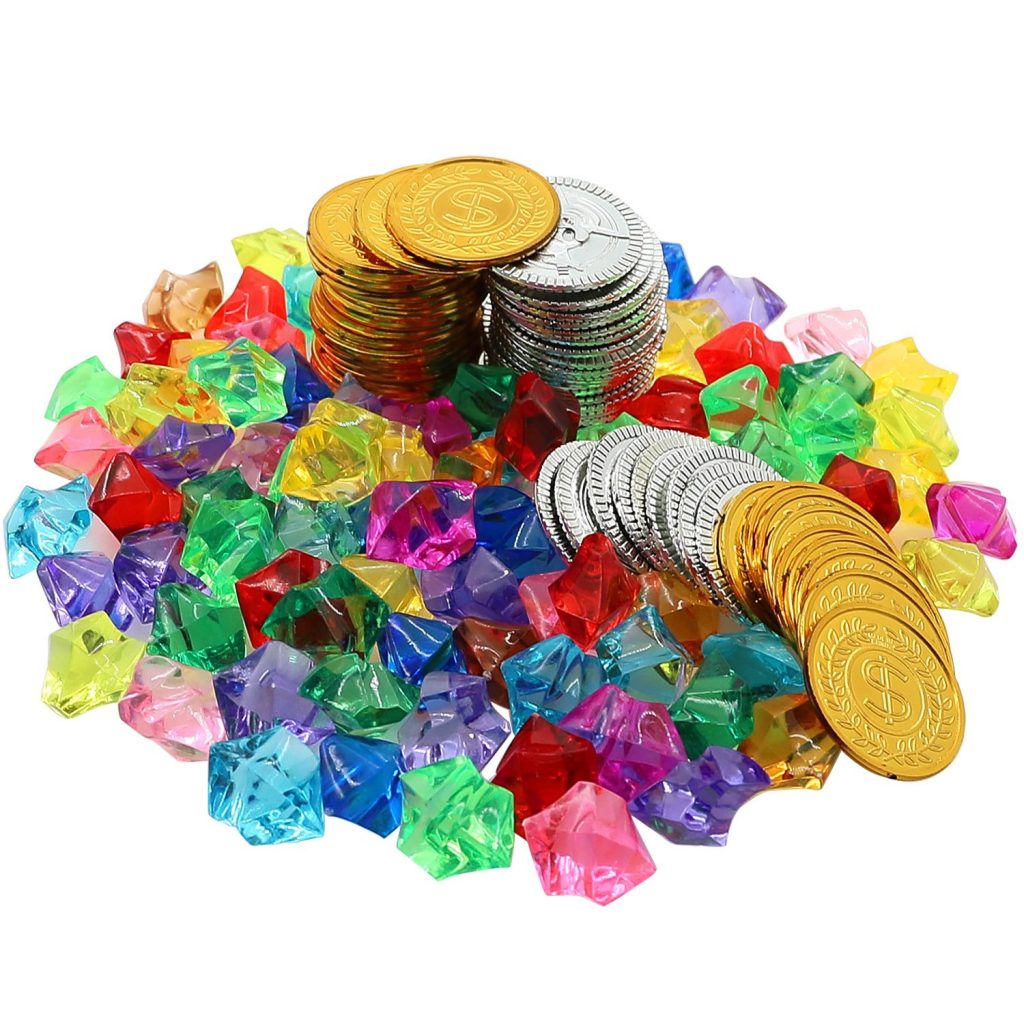
- Themed toys or manipulatives
- Fine motor tools
If you are all sorts of ready to jump into the sensory bin world I have a great resource for you! I have pulled together a list of over 100 different supplies for sensory bins from fillers to toys to tools. You can just mix and match to fit your dream theme and your good to go! Download it here
This post contains some affiliate links that if you click through and purchase I may earn a small commission at no cost to you!
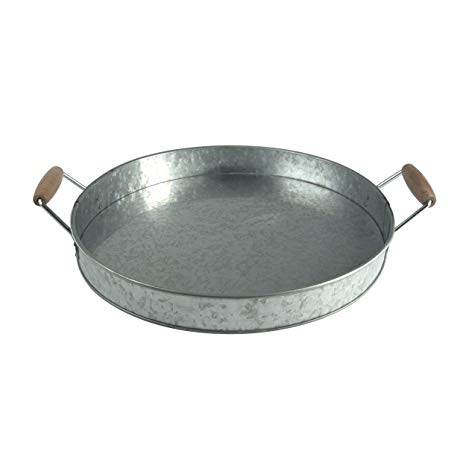
1. BINS TRAYS AND BOWLS OH MY
Okay run to the baking cabinet, find a 10×14 roasting pan or a rimmed cookie sheet. These are perfect sensory trays! Of course, there are lots of different kinds of bins you could use and it depends on your material really. If you’re dealing with a wet/sticky material I wouldn’t recommend wood…Otherwise, go for it your bin is only limited by your imagination (and maybe storage space).
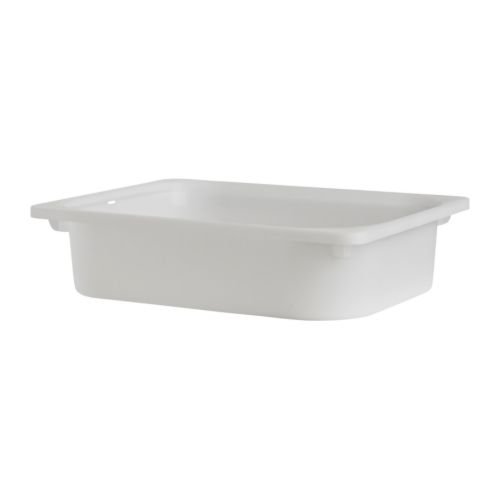
Some materials do well with the bin-in-bin method. I have a smaller dollar store bin inside of the storage bin for these days. The filler is in the smaller bin and her tools are in the storage bin. That way she can remove the filler from the bin to add it to a bowl or tray and the filler is still contained in the big bin. I found this as a great way to keep the mess a little more contained!
I currently use an under the bed storage bin. It’s large enough that she has space to move things around. Big enough that she can’t really pick it up. The sides are low enough that she can access the materials easily but tall enough that the filler doesn’t spill out easily. The best part? It has a lid. When we’re done I just pop the lid on boom we are cleaned up and good to go. (Well except for sweeping up the escapee bits)
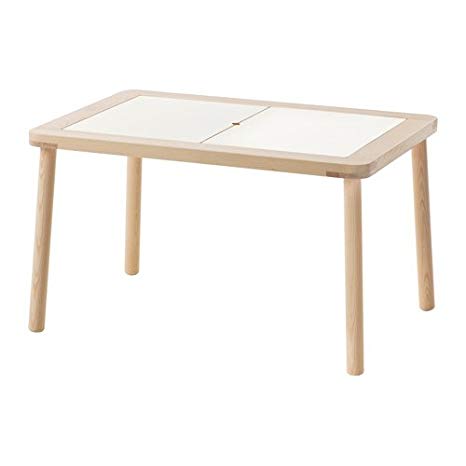
The more she plays with this set up the more I am looking to make a sensory table. our current bin set up works but I think that she would enjoy standing or sitting at the table and not having to reach over the wall of the container, but instead down into the bin. So keep an eye out for that DIY!
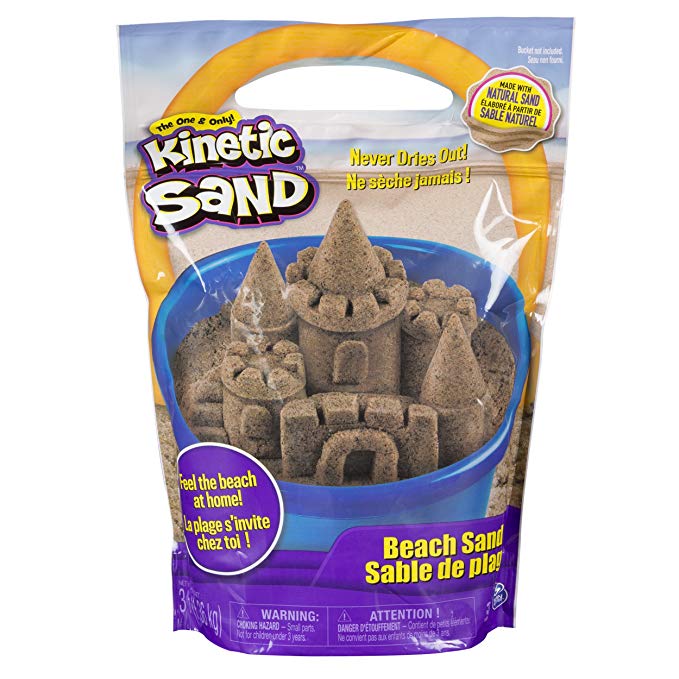
2. Base and Fillers A’hoy
This is the body of your sensory bin. I can bet you have some of the best fillers sitting in your pantry right now. Common favorites are rice, kinetic sand, and just plain old water! There are of course others and here is where you need to take your kiddo into consideration. Go for taste safe options for little ones; be careful with things that taste too good. You don’t want to encourage eating it! Try dry materials for kids who don’t like to get sticky or dirty. (Save those for summer days where you can just hose the kids off!) Experiment with what interests your kid. Some things may go over better than others!
https://amzn.to/2UK2Ai3
<!– /* Font Definitions */ @font-face {font-family:Cambria; panose-1:2 4 5 3 5 4 6 3 2 4; mso-font-charset:0; mso-generic-font-family:auto; mso-font-pitch:variable; mso-font-signature:3 0 0 0 1 0;} /* Style Definitions */ p.MsoNormal, li.MsoNormal, div.MsoNormal {mso-style-parent:””; margin:0in; margin-bottom:.0001pt; mso-pagination:widow-orphan; font-size:12.0pt; font-family:”Times New Roman”; mso-ascii-font-family:Cambria; mso-ascii-theme-font:minor-latin; mso-fareast-font-family:Cambria; mso-fareast-theme-font:minor-latin; mso-hansi-font-family:Cambria; mso-hansi-theme-font:minor-latin; mso-bidi-font-family:”Times New Roman”; mso-bidi-theme-font:minor-bidi;} a:link, span.MsoHyperlink {mso-style-noshow:yes; color:blue; text-decoration:underline; text-underline:single;} a:visited, span.MsoHyperlinkFollowed {mso-style-noshow:yes; color:purple; text-decoration:underline; text-underline:single;} @page Section1 {size:8.5in 11.0in; margin:1.0in 1.25in 1.0in 1.25in; mso-header-margin:.5in; mso-footer-margin:.5in; mso-paper-source:0;} div.Section1 {page:Section1;} –>
https://amzn.to/2UK2Ai3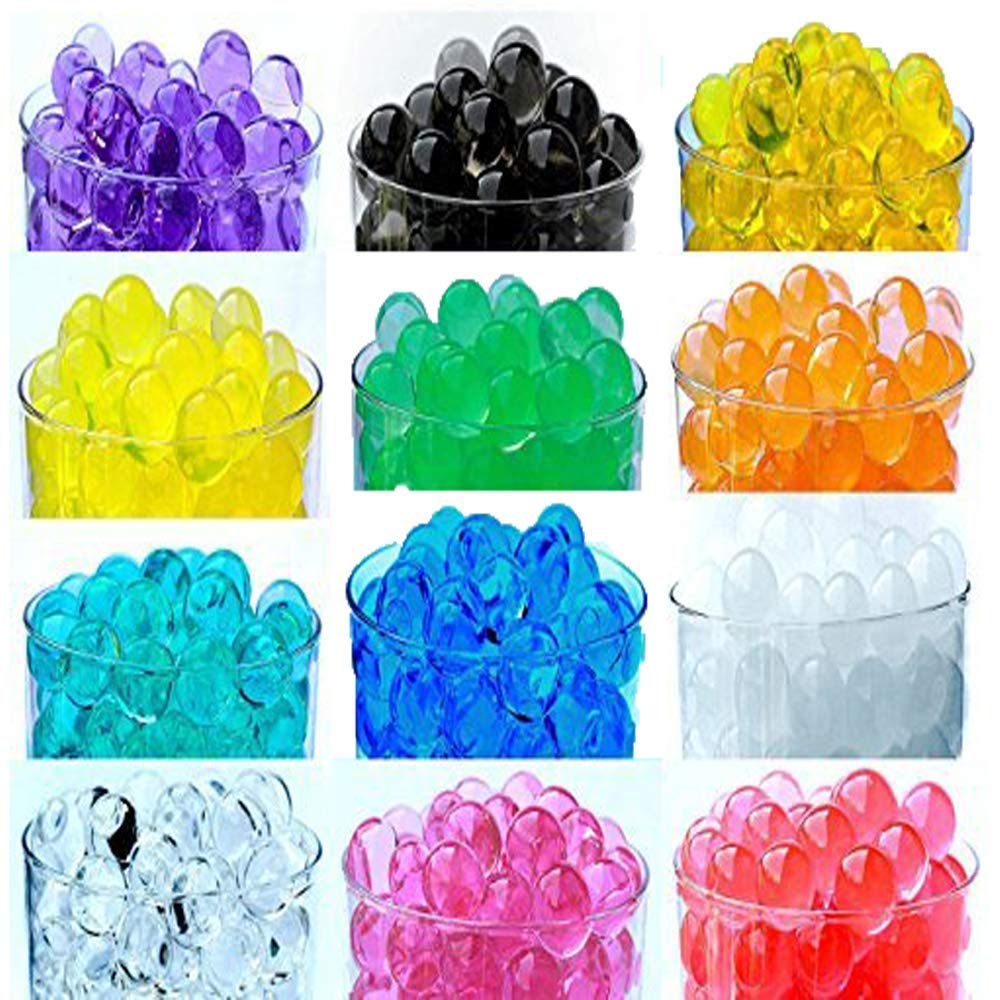
https://amzn.to/2D70A9I 
https://amzn.to/2U1RlNr
You COULD stop here. But that would be a little boring and honestly, the sensory bin can be so much more!
3. You get a theme and you get a theme
This is where the fun starts! The theme. Not all bins NEED a theme and honestly depending on the age of your kiddo they might care less about the theme. That said I LOVE a good theme and it gets me more creative on contents when I use one. A theme can be anything under the sun and can be built to suit your children’s interest or your tot school theme or a special holiday coming up. It really is up to you! Some ideas might be…
- A book or movie
- A holiday or season
- A job or place
- A color or letter or shape
- A habitat or specific animal
You are only limited by your imagination and when if doubt Pinterest is always there for you! Head over to my board that is all about sensory play for some ideas!
Gather some toys and materials to fit your theme, your kiddo probably has some favorite toys that would be perfect. Craft supplies like pompom and stickers are also great for building a theme! Common favorite toys to include are the Toob animal sets, construction trucks, and pirates treasure!
If your wanting to build a small world some great options include vase filler, wood disks, and terrarium caves, and fake plants
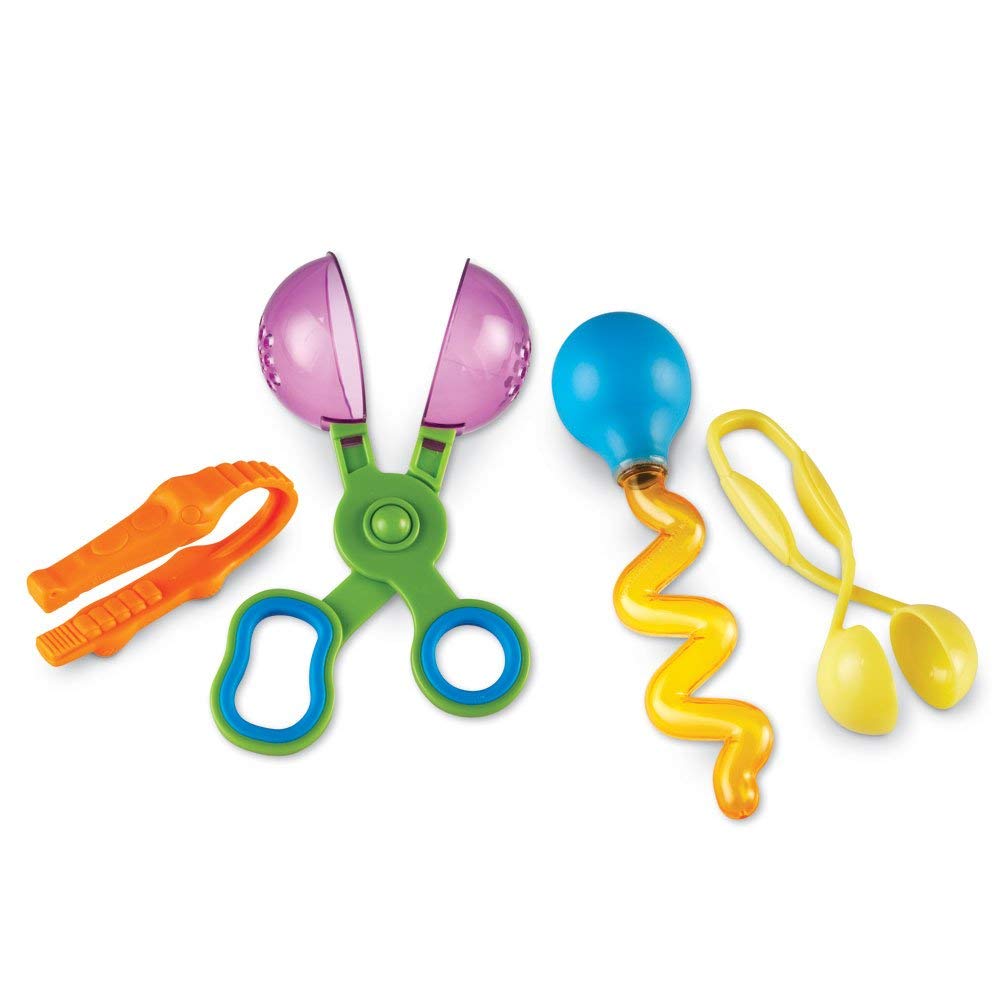
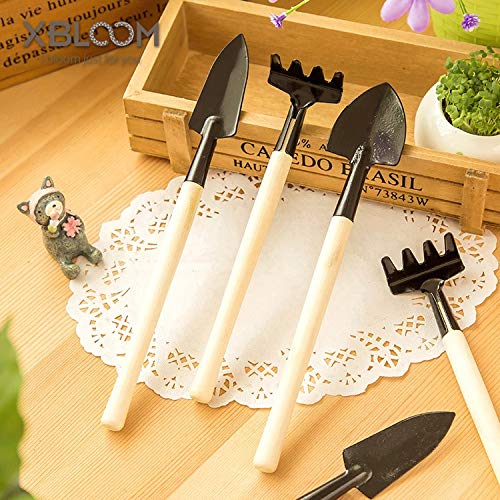
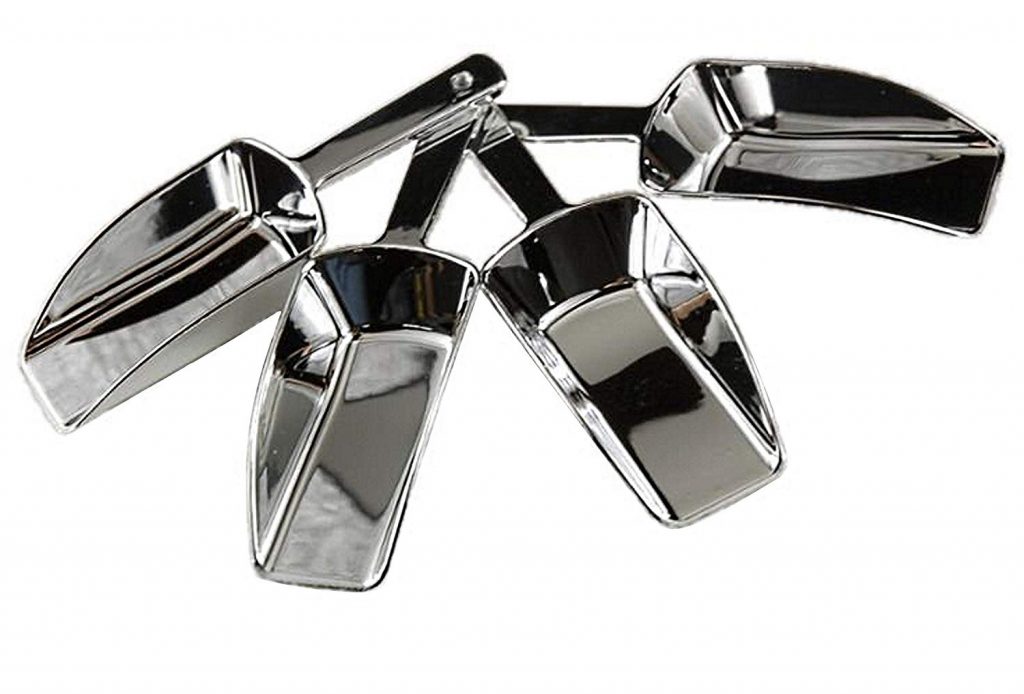
4. Tie it all up with some fine motor
Before you can call your masterpiece complete you need to add some fine motor tools. Your kiddo is going to need a way to move and manipulate the filler. Funnels and jars for rice. Tongs and egg cartons for pompom. Scoops and pots for beans. These are just examples. When in doubt add some little bowls and some scoops, these are always winners. Your kitchen is filled with some great tools for littles to practice using!

I hope that I got you excited to build your own sensory bin! Tag me on Instagram with your creations. I would love to see them! My handle is @mamameganallysa
I really appreciate your help with my project!